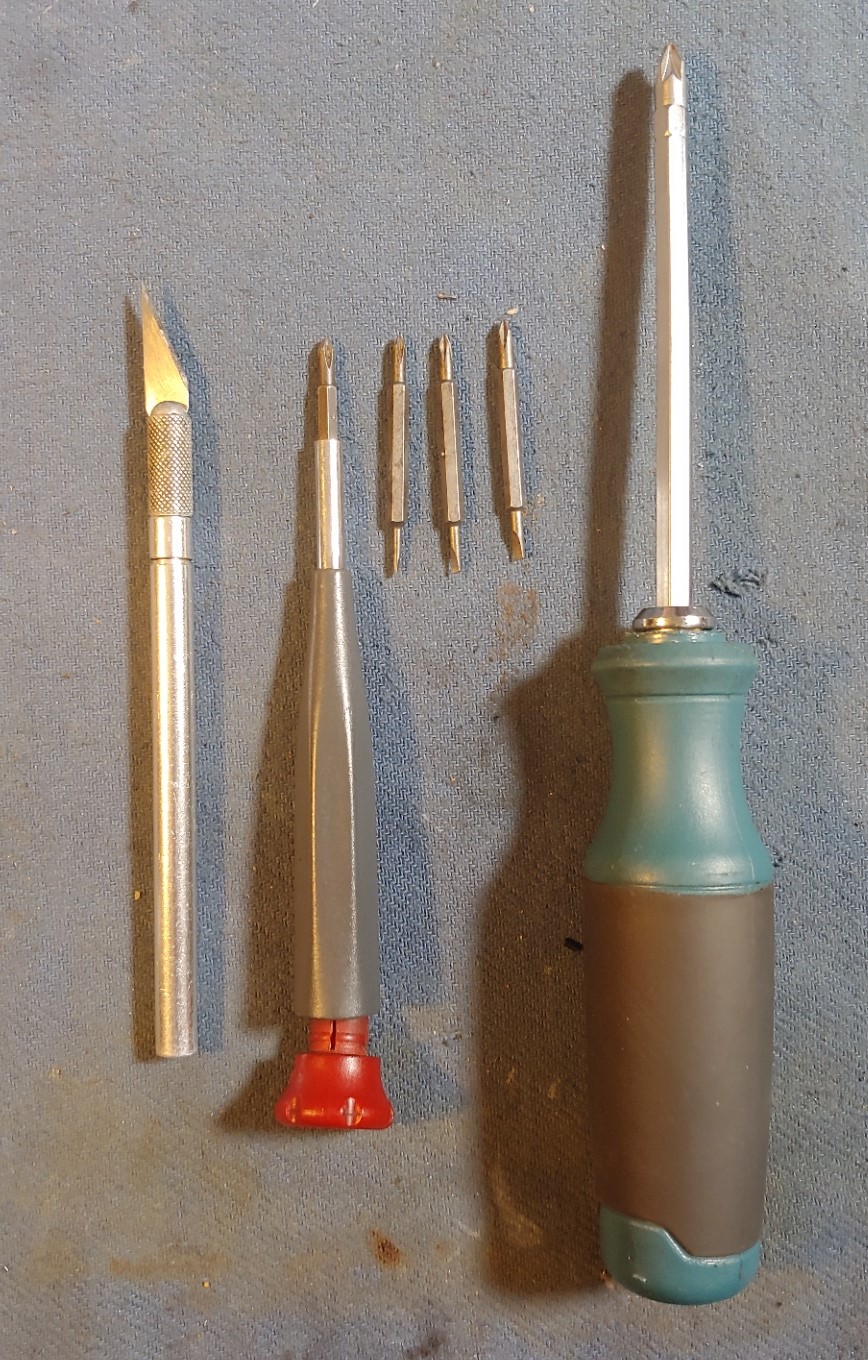
You will need: Small Phillips Screwdriver, Large Phillips Screwdriver Small Flathead Screwdriver Exacto or Razor Blade
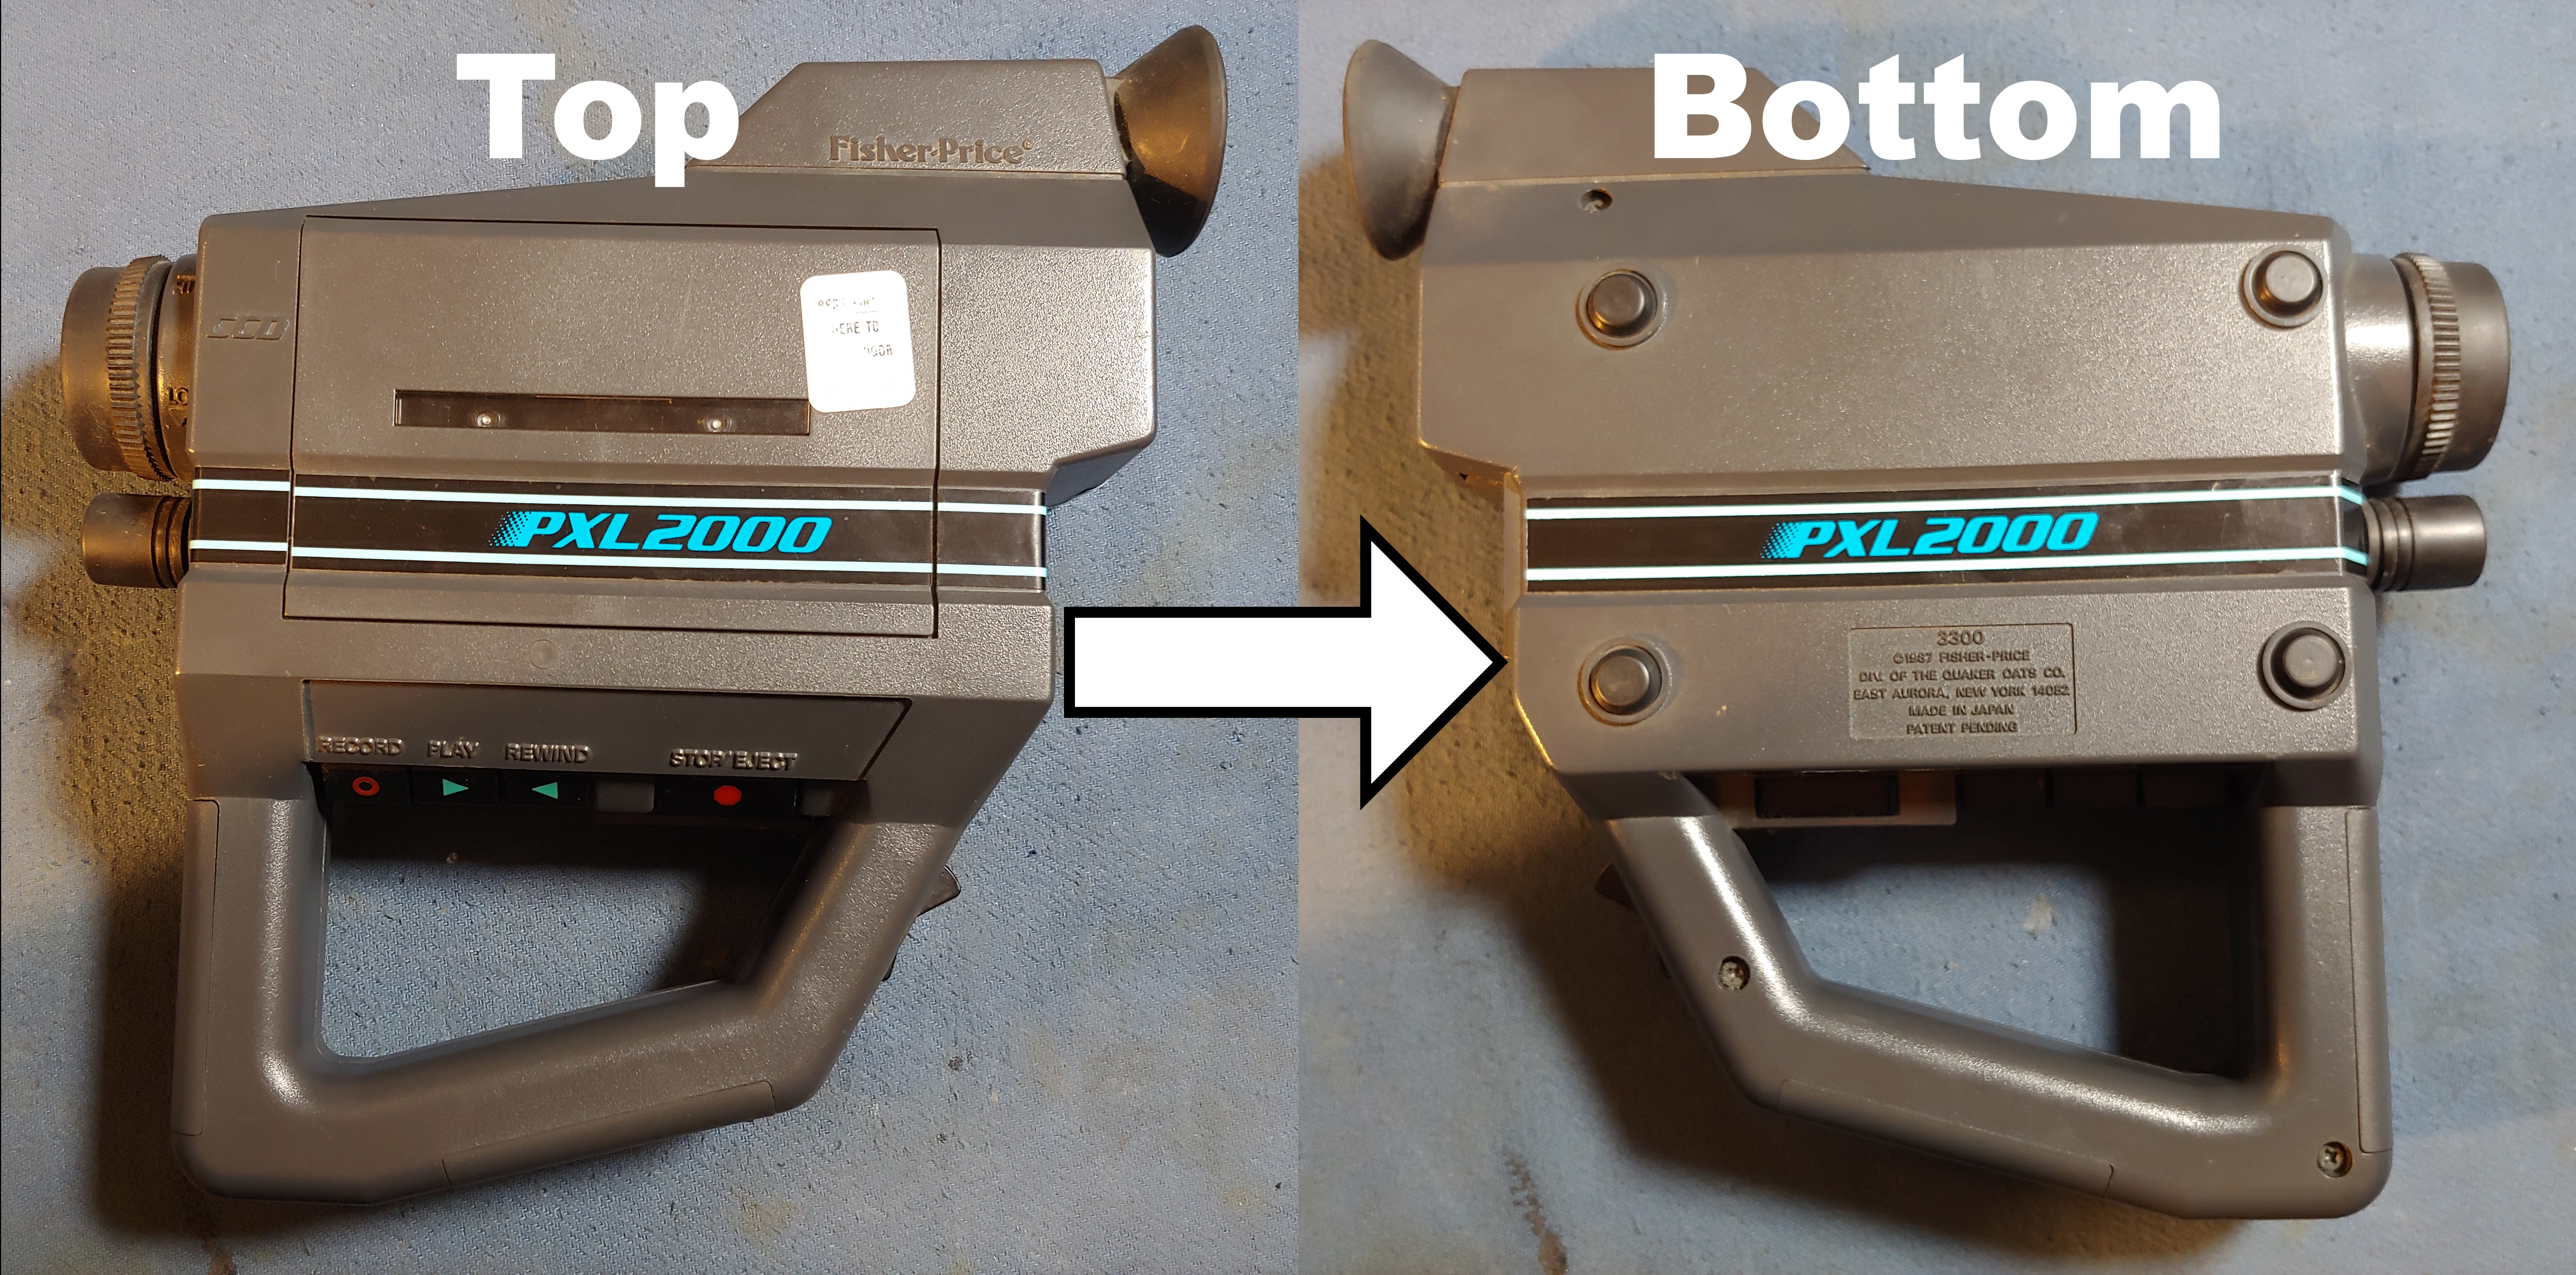
Begin by flipping the unit so the rubber feet are facing upwards.
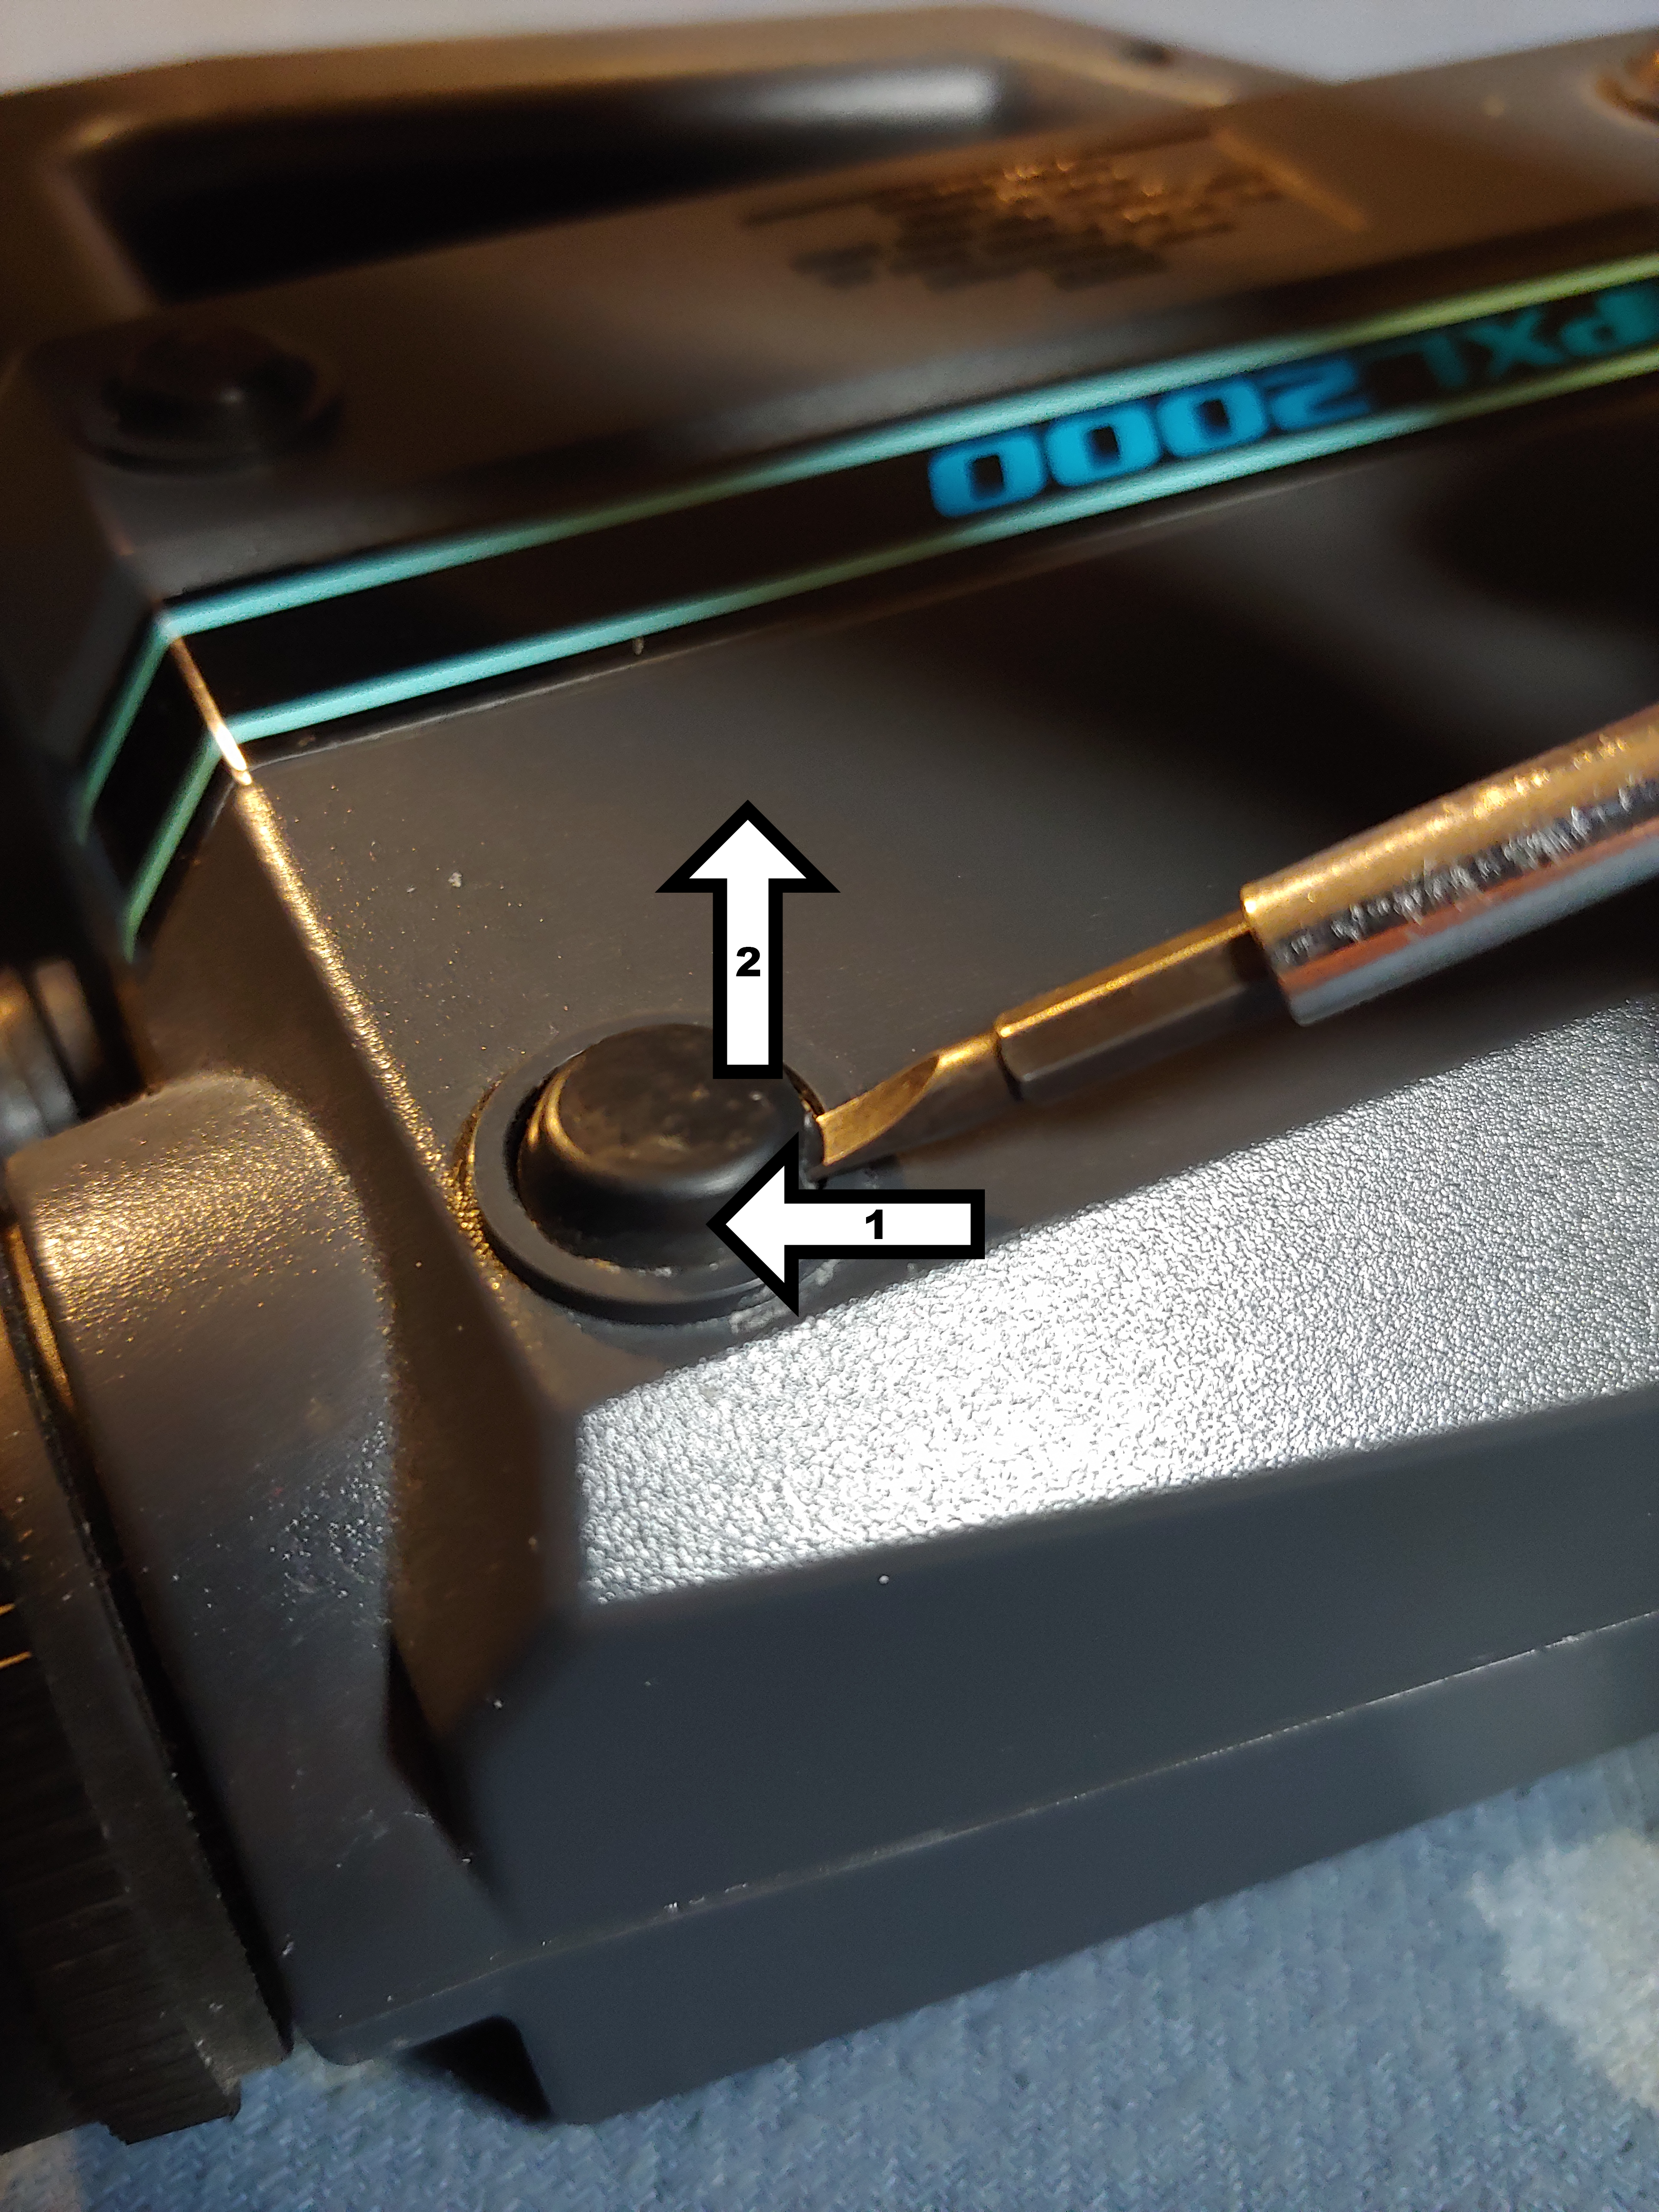
Use a flathead screwdriver or other blunt object to push into the feet and pry upwards. You do not want to use the shell as a leverage point, otherwise you risk dinging the plastic. It is fairly easy to remove these without the screwdriver coming into contact with the shell.
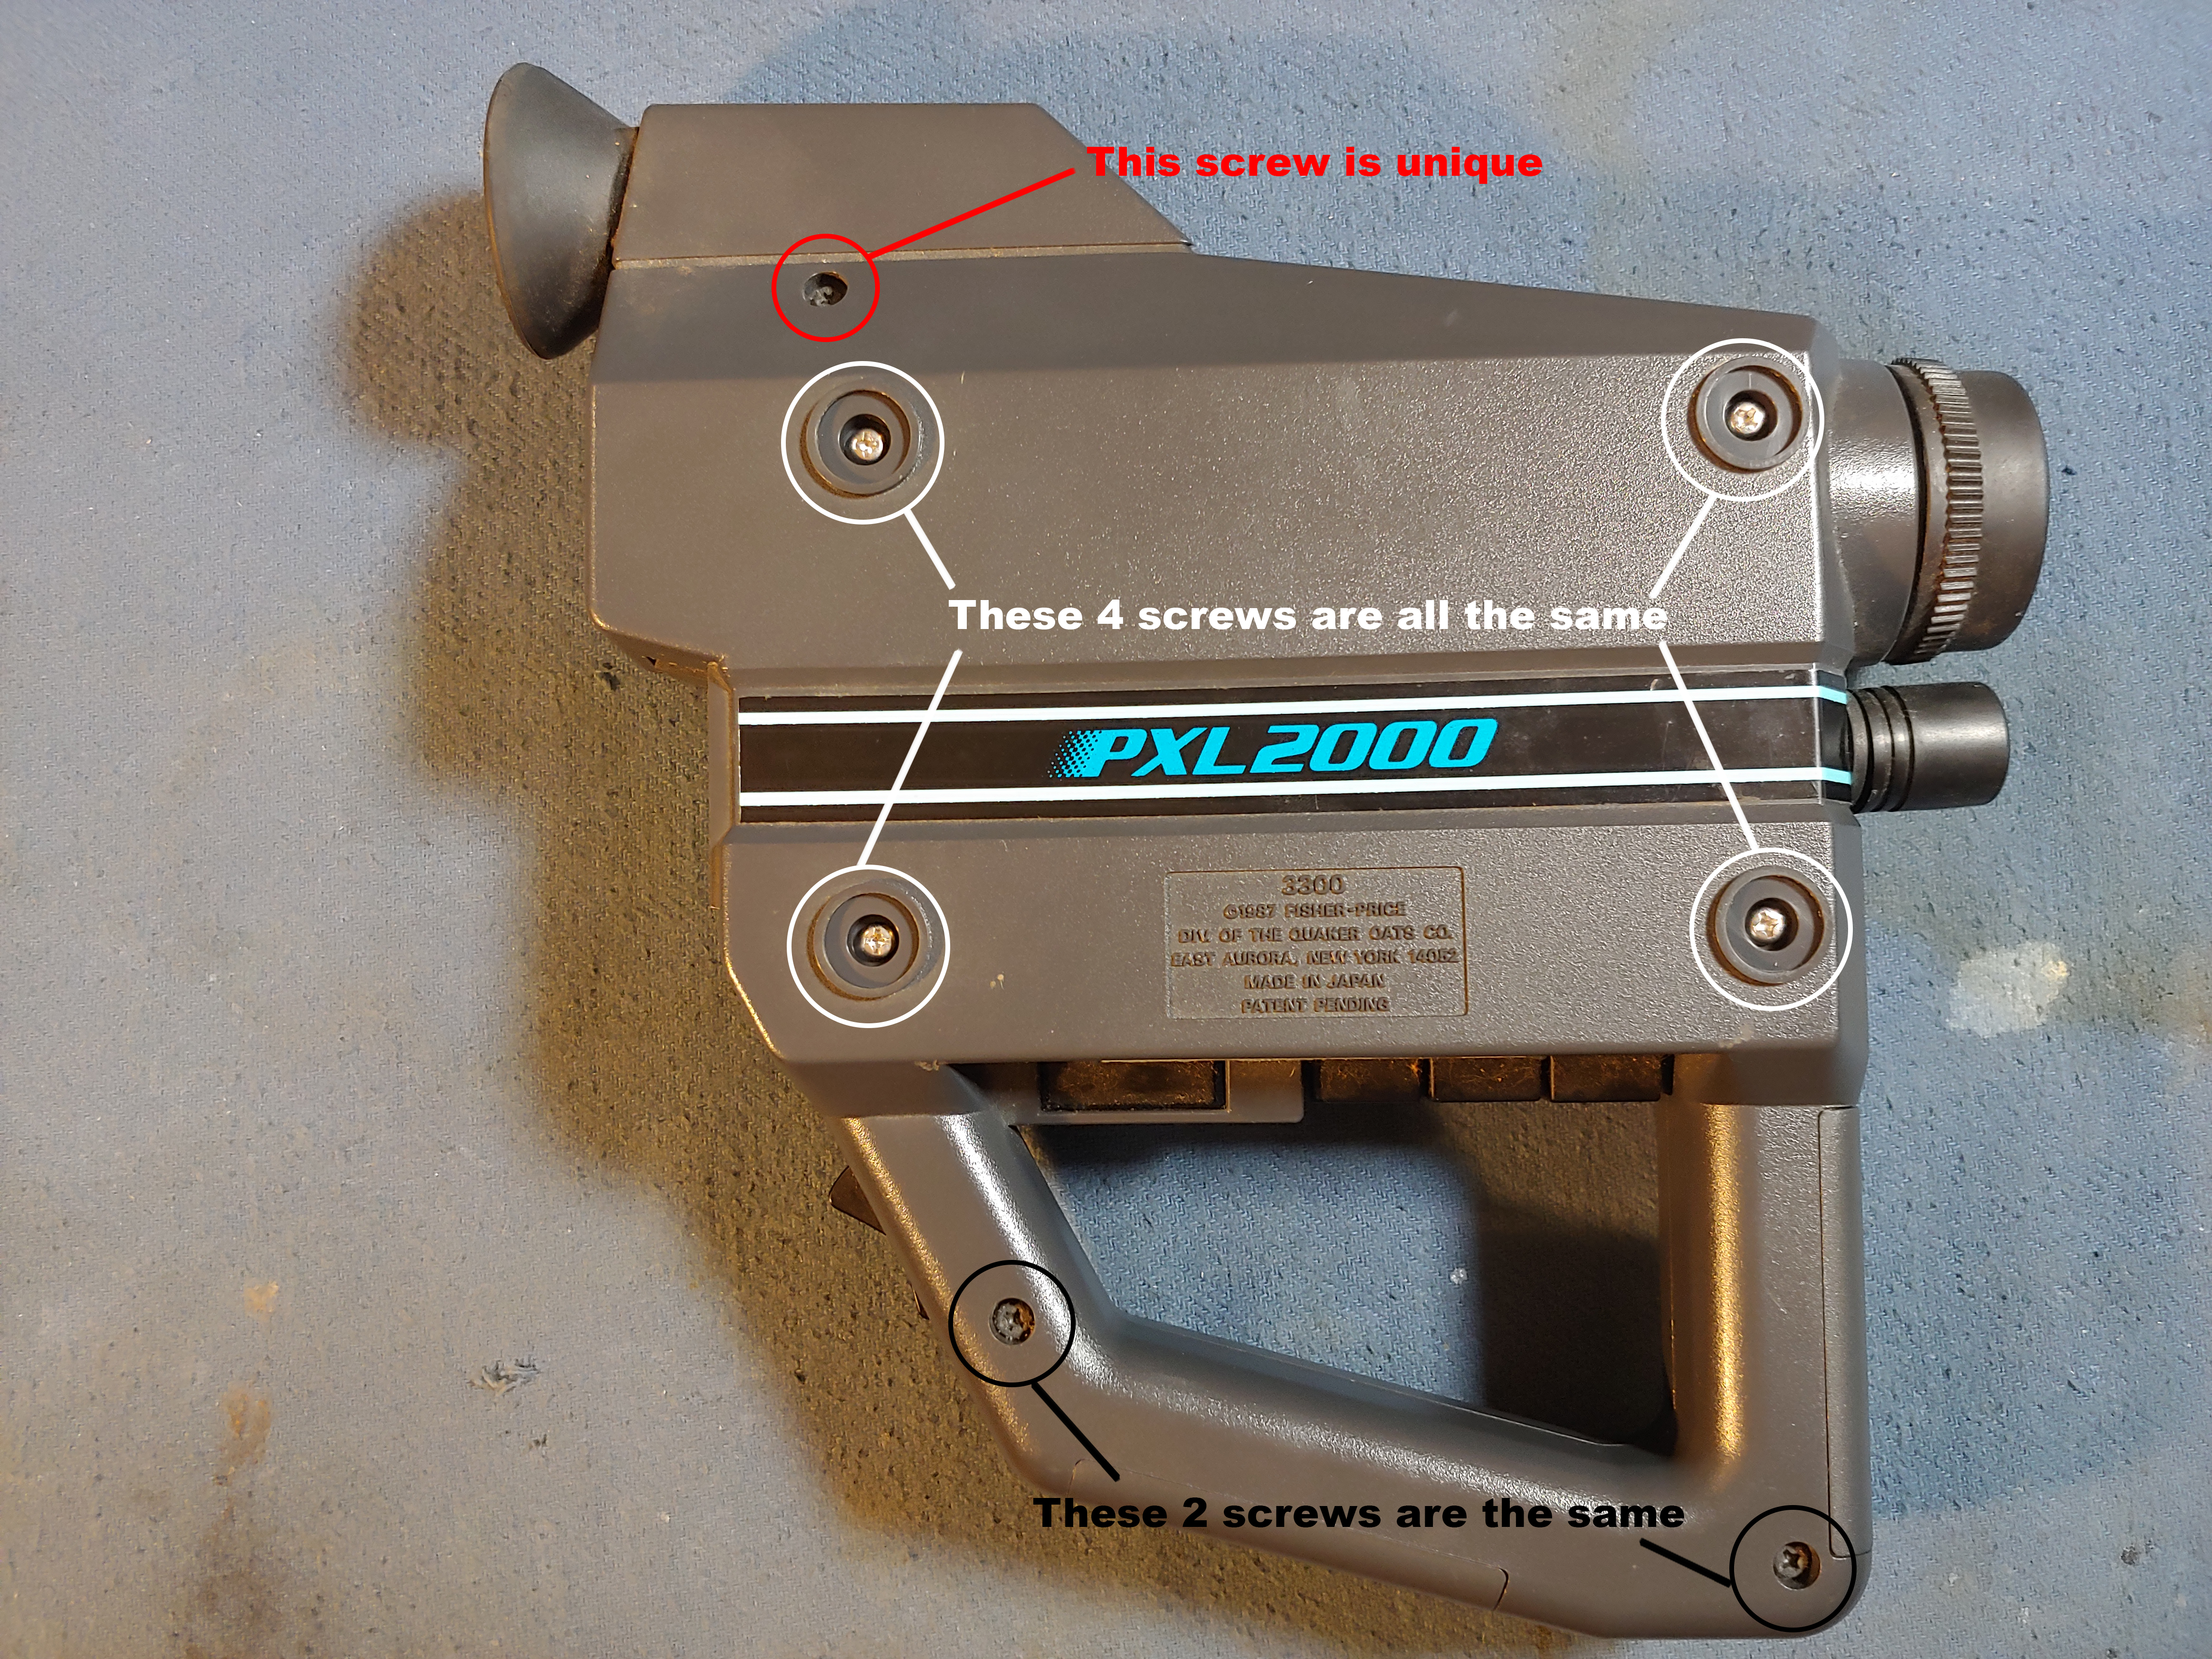
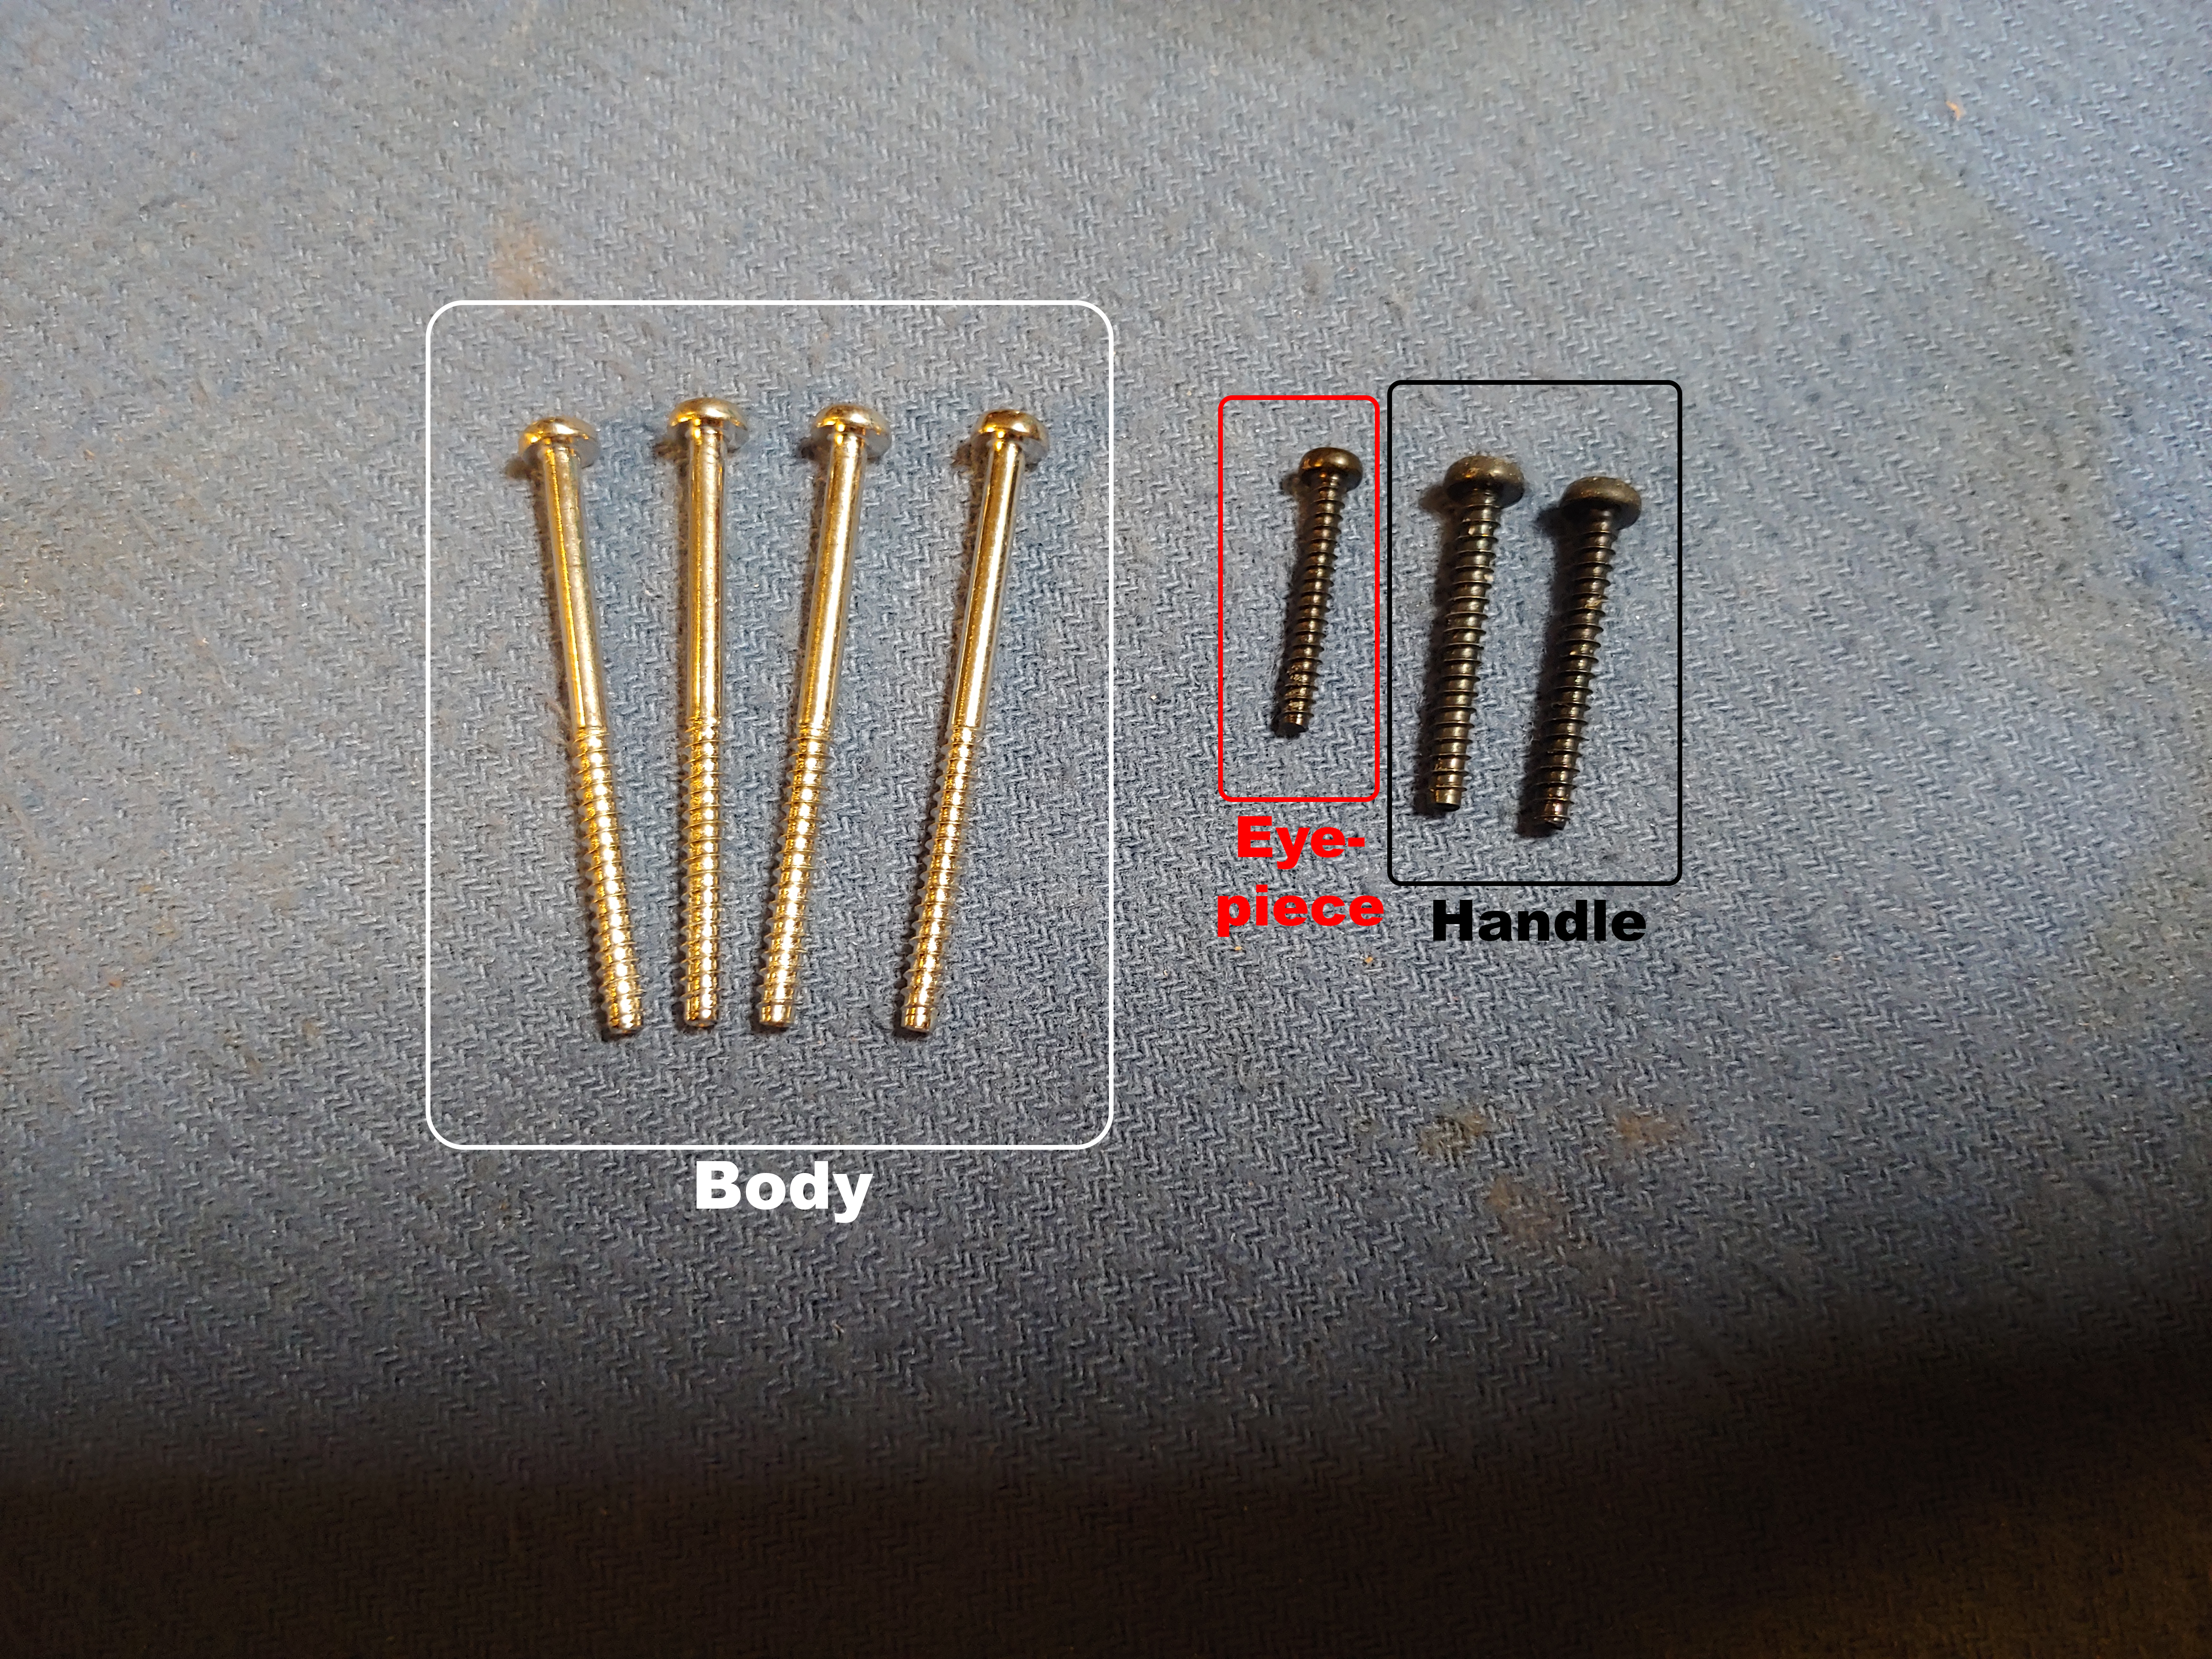
Remove the 4 screws that were under the rubber feet, the 2 screws in the handle, and the screw near the eyepiece. Notice that the handle screws and the eyepiece screw are NOT the same.
Inventory of screws you should have.
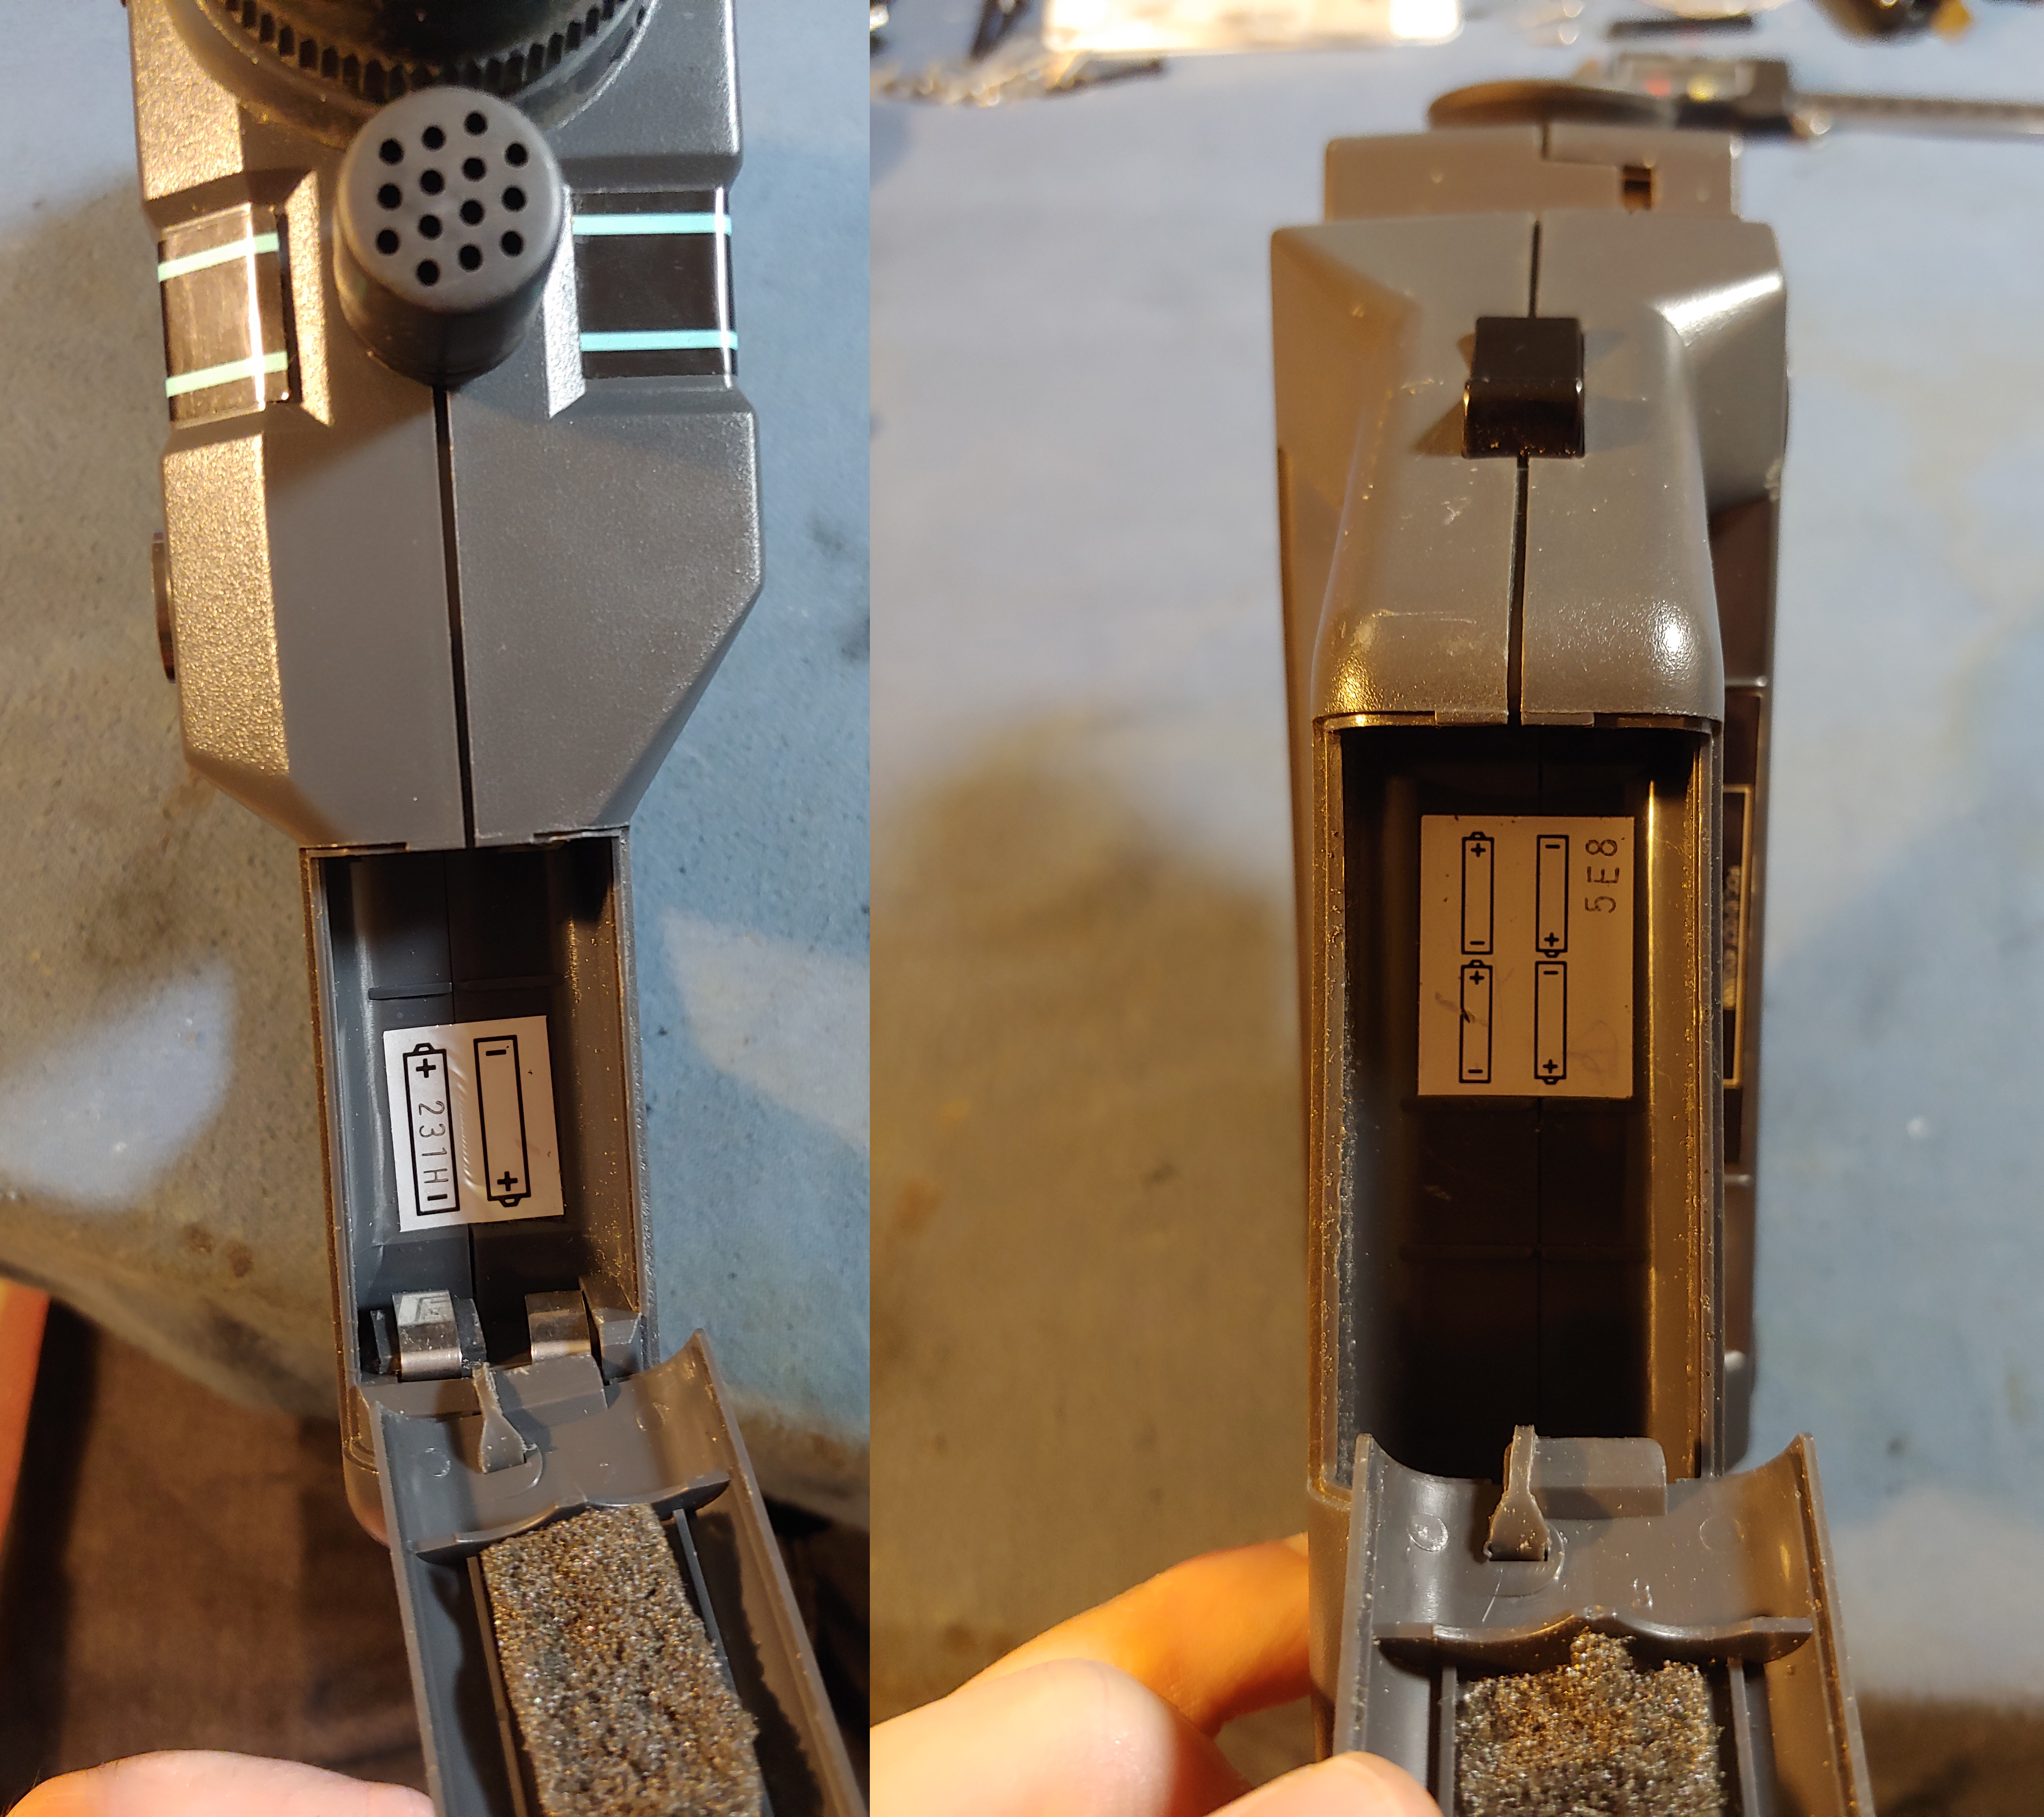
At this point you’ll notice the shell still isn’t coming apart. That’s because there are 3 stickers on the unit that will prevent you from opening the shell. Two are in the battery compartment and indicate battery direction. The third is around the eye piece. We’ll come back to the eyepiece later, we’re going to start with the stickers in the battery compartments.
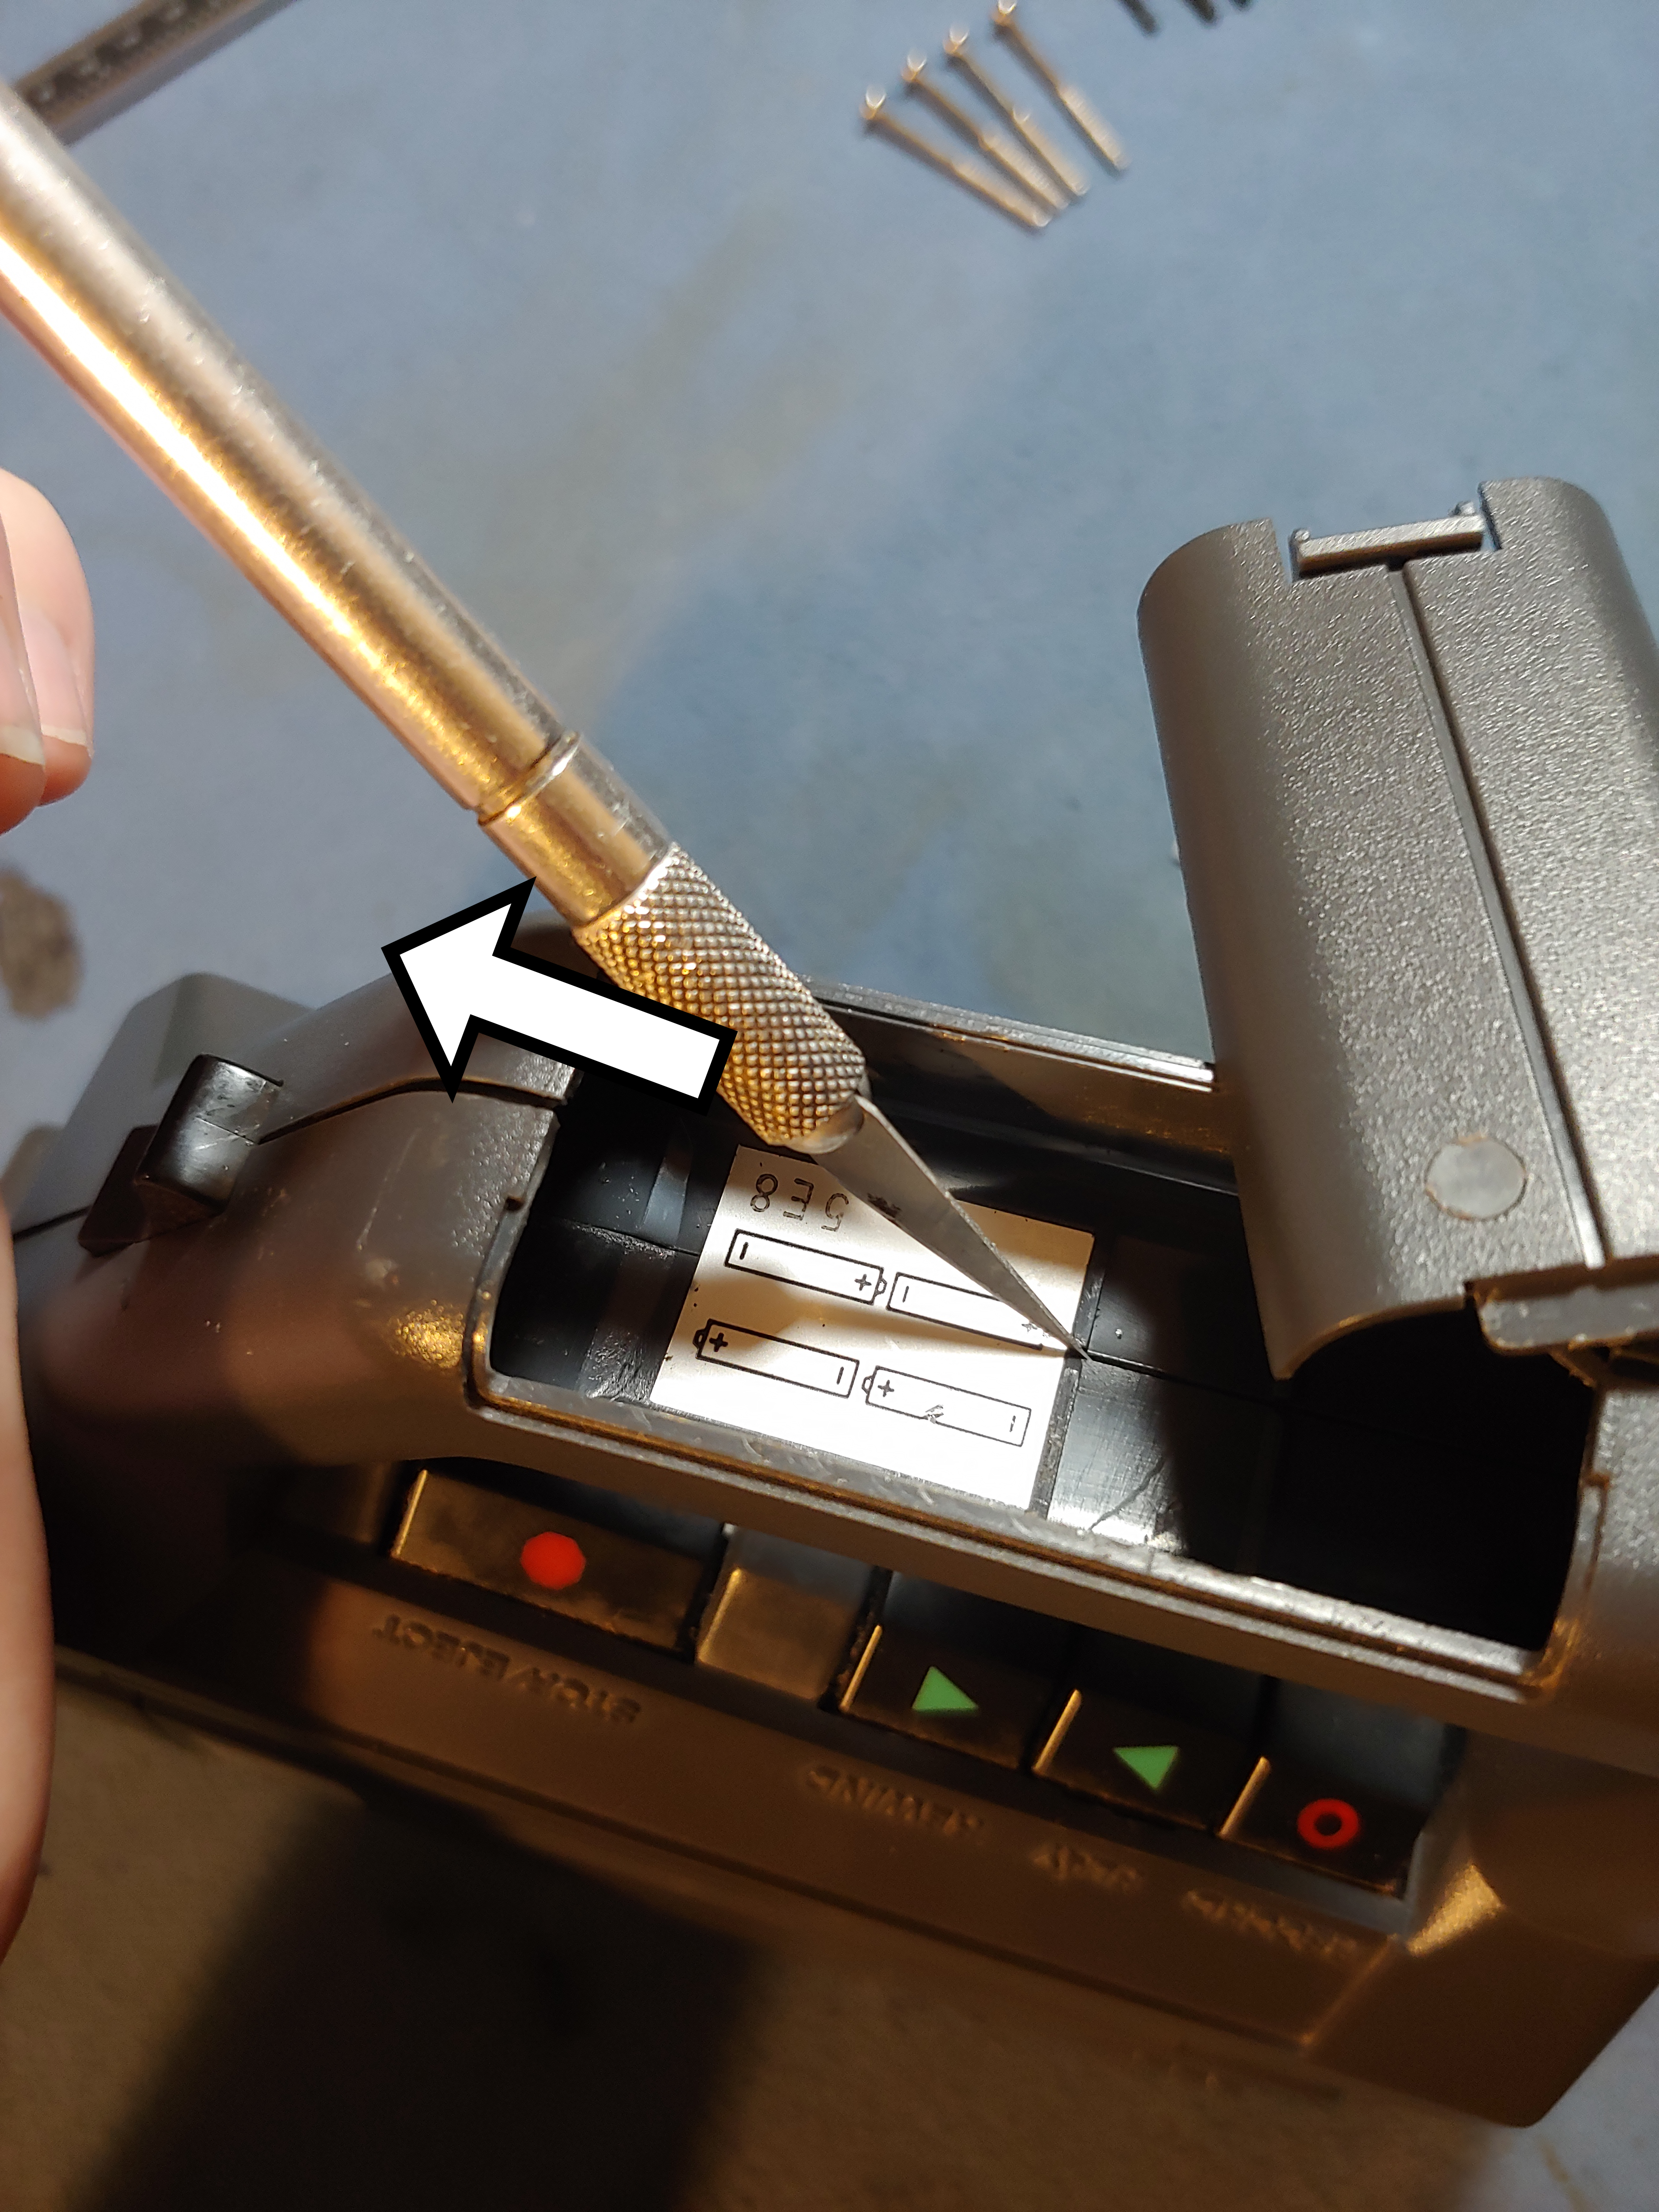
I decided to use an exacto blade to cut straight down the center of the sticker. If you prefer, you can attempt to peel the sticker instead but this will be more fiddly given the small cavity to work within.
I do not believe that cutting the stickers would have any impact on resale value of these cameras. They are worth much more when they’ve been repaired and the only reason to keep the sticker intact would be if you were attempting to restore a unit to perfectly stock, museum condition.
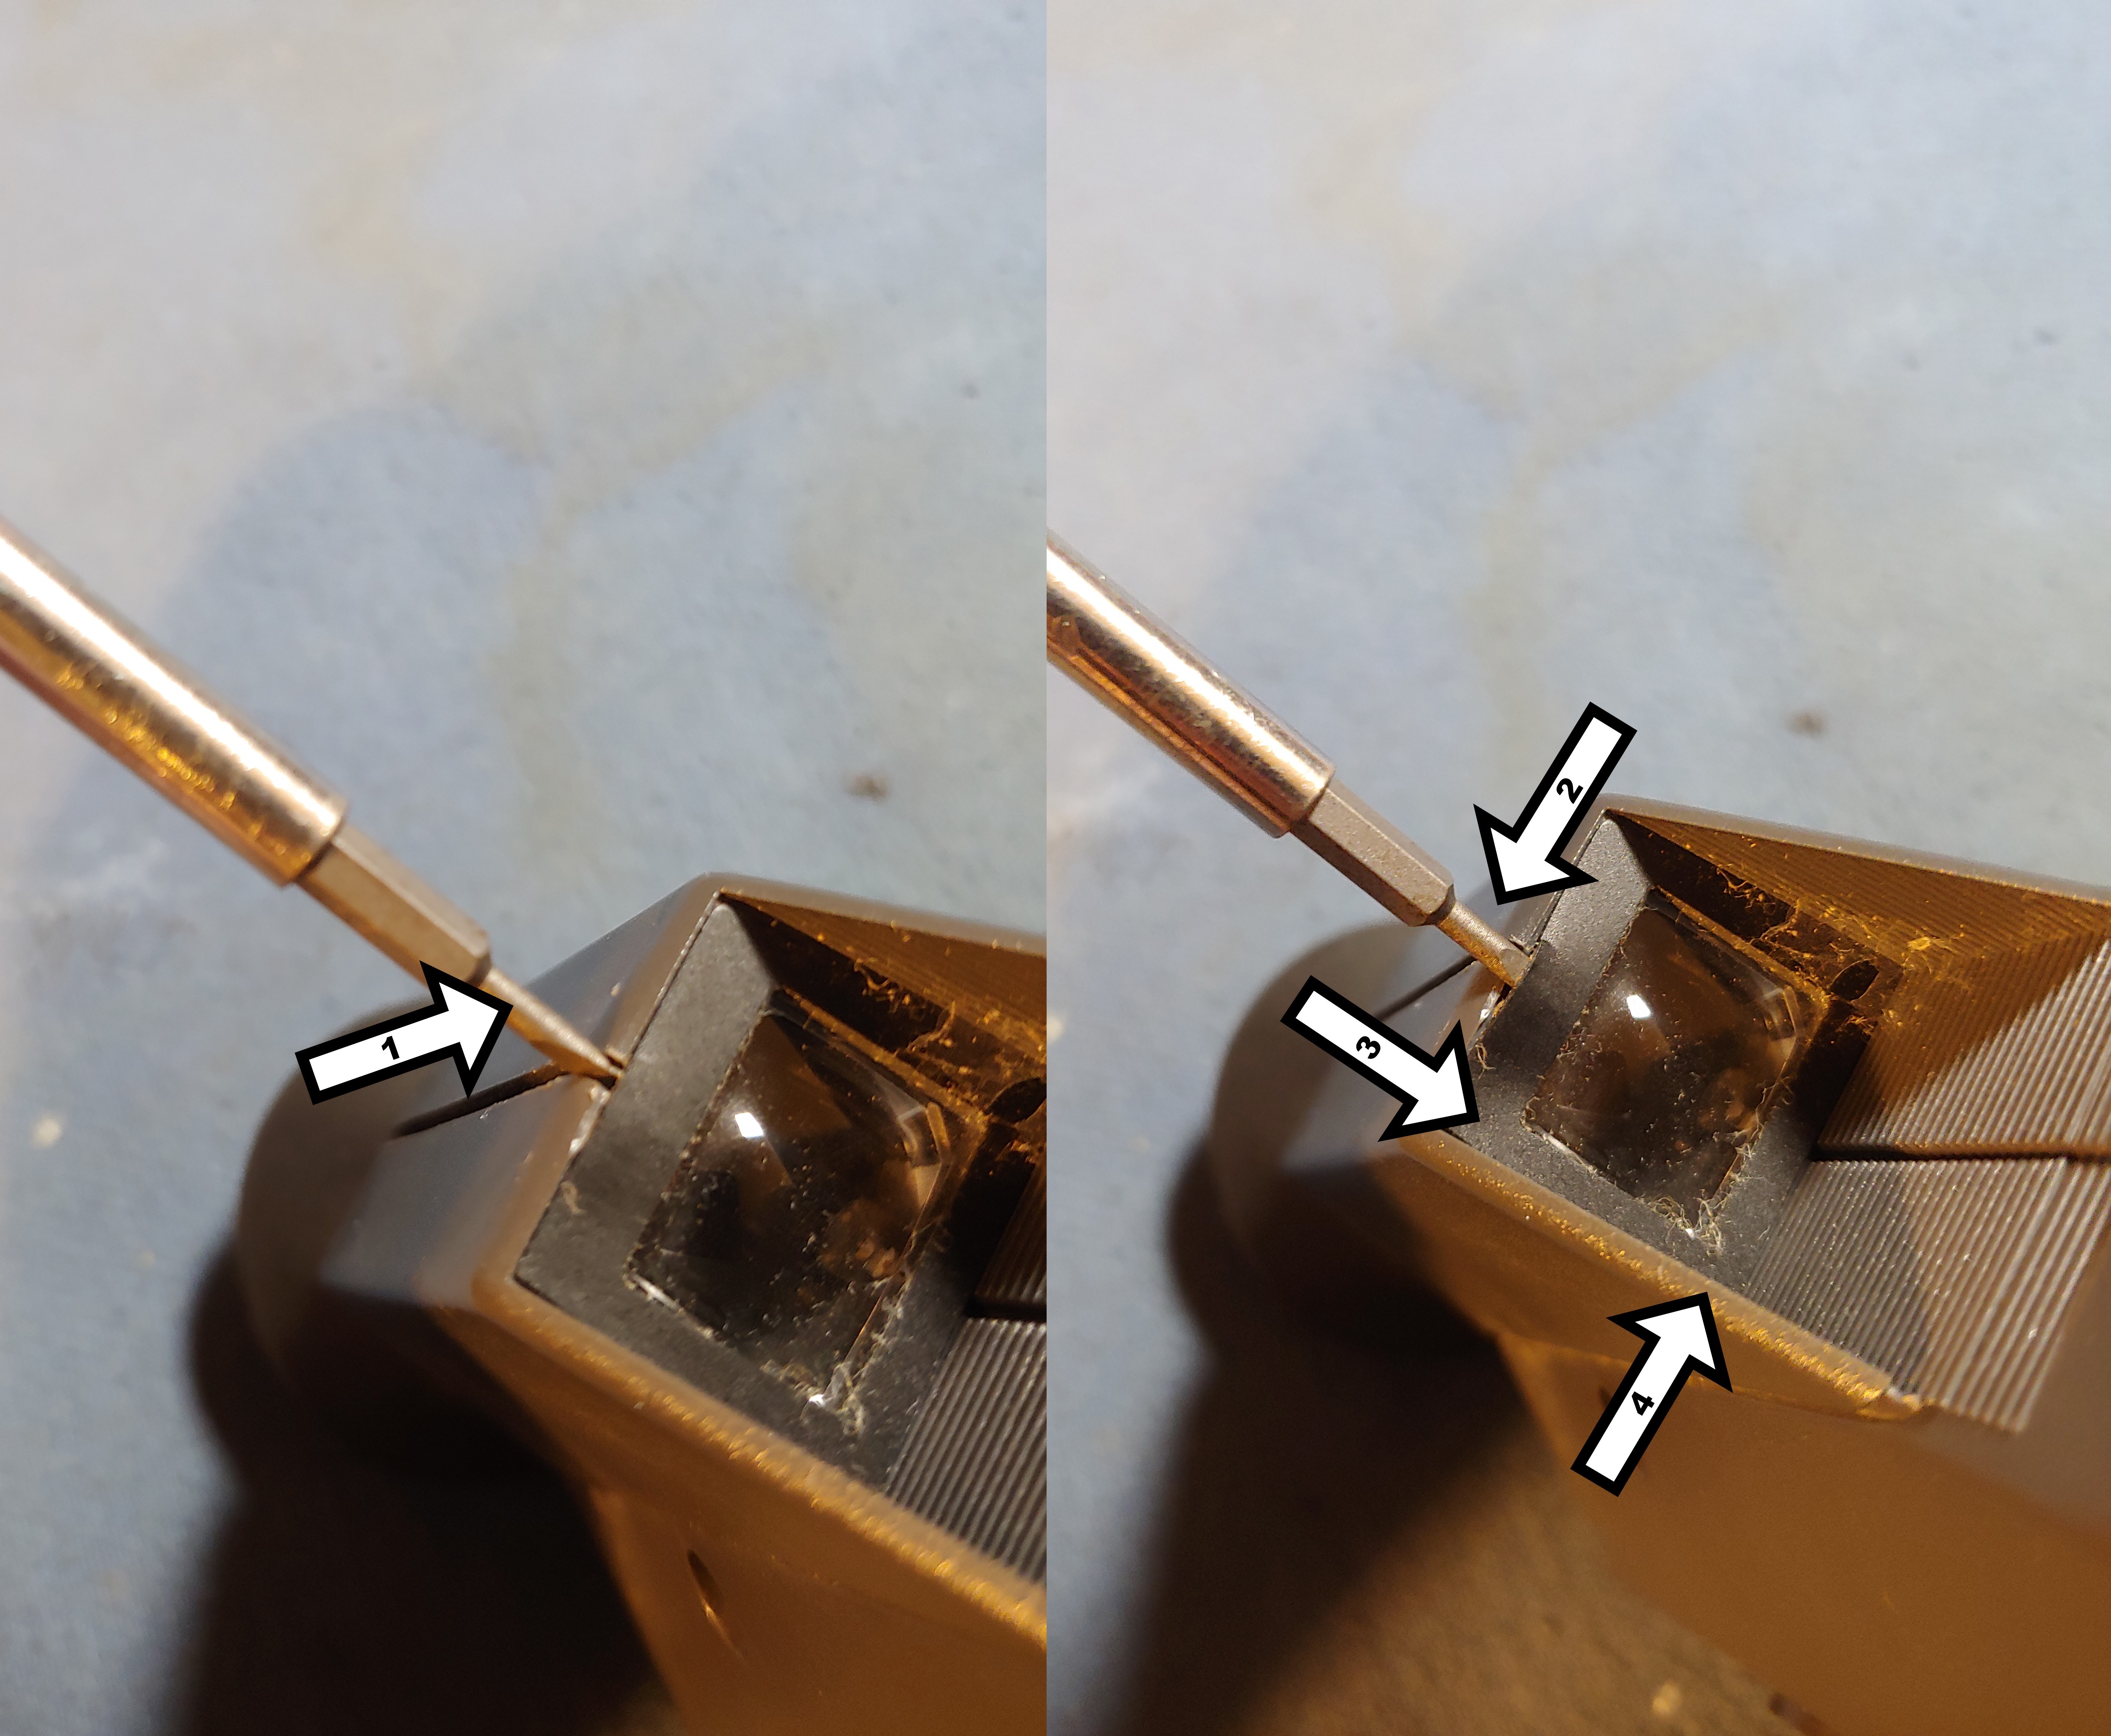
And we’re cut! Slowly and carefully start to pull the shell apart. At this point the eyepiece sticker is still intact but the adhesive should be rubbery or gummy enough to get some movement from the shell.
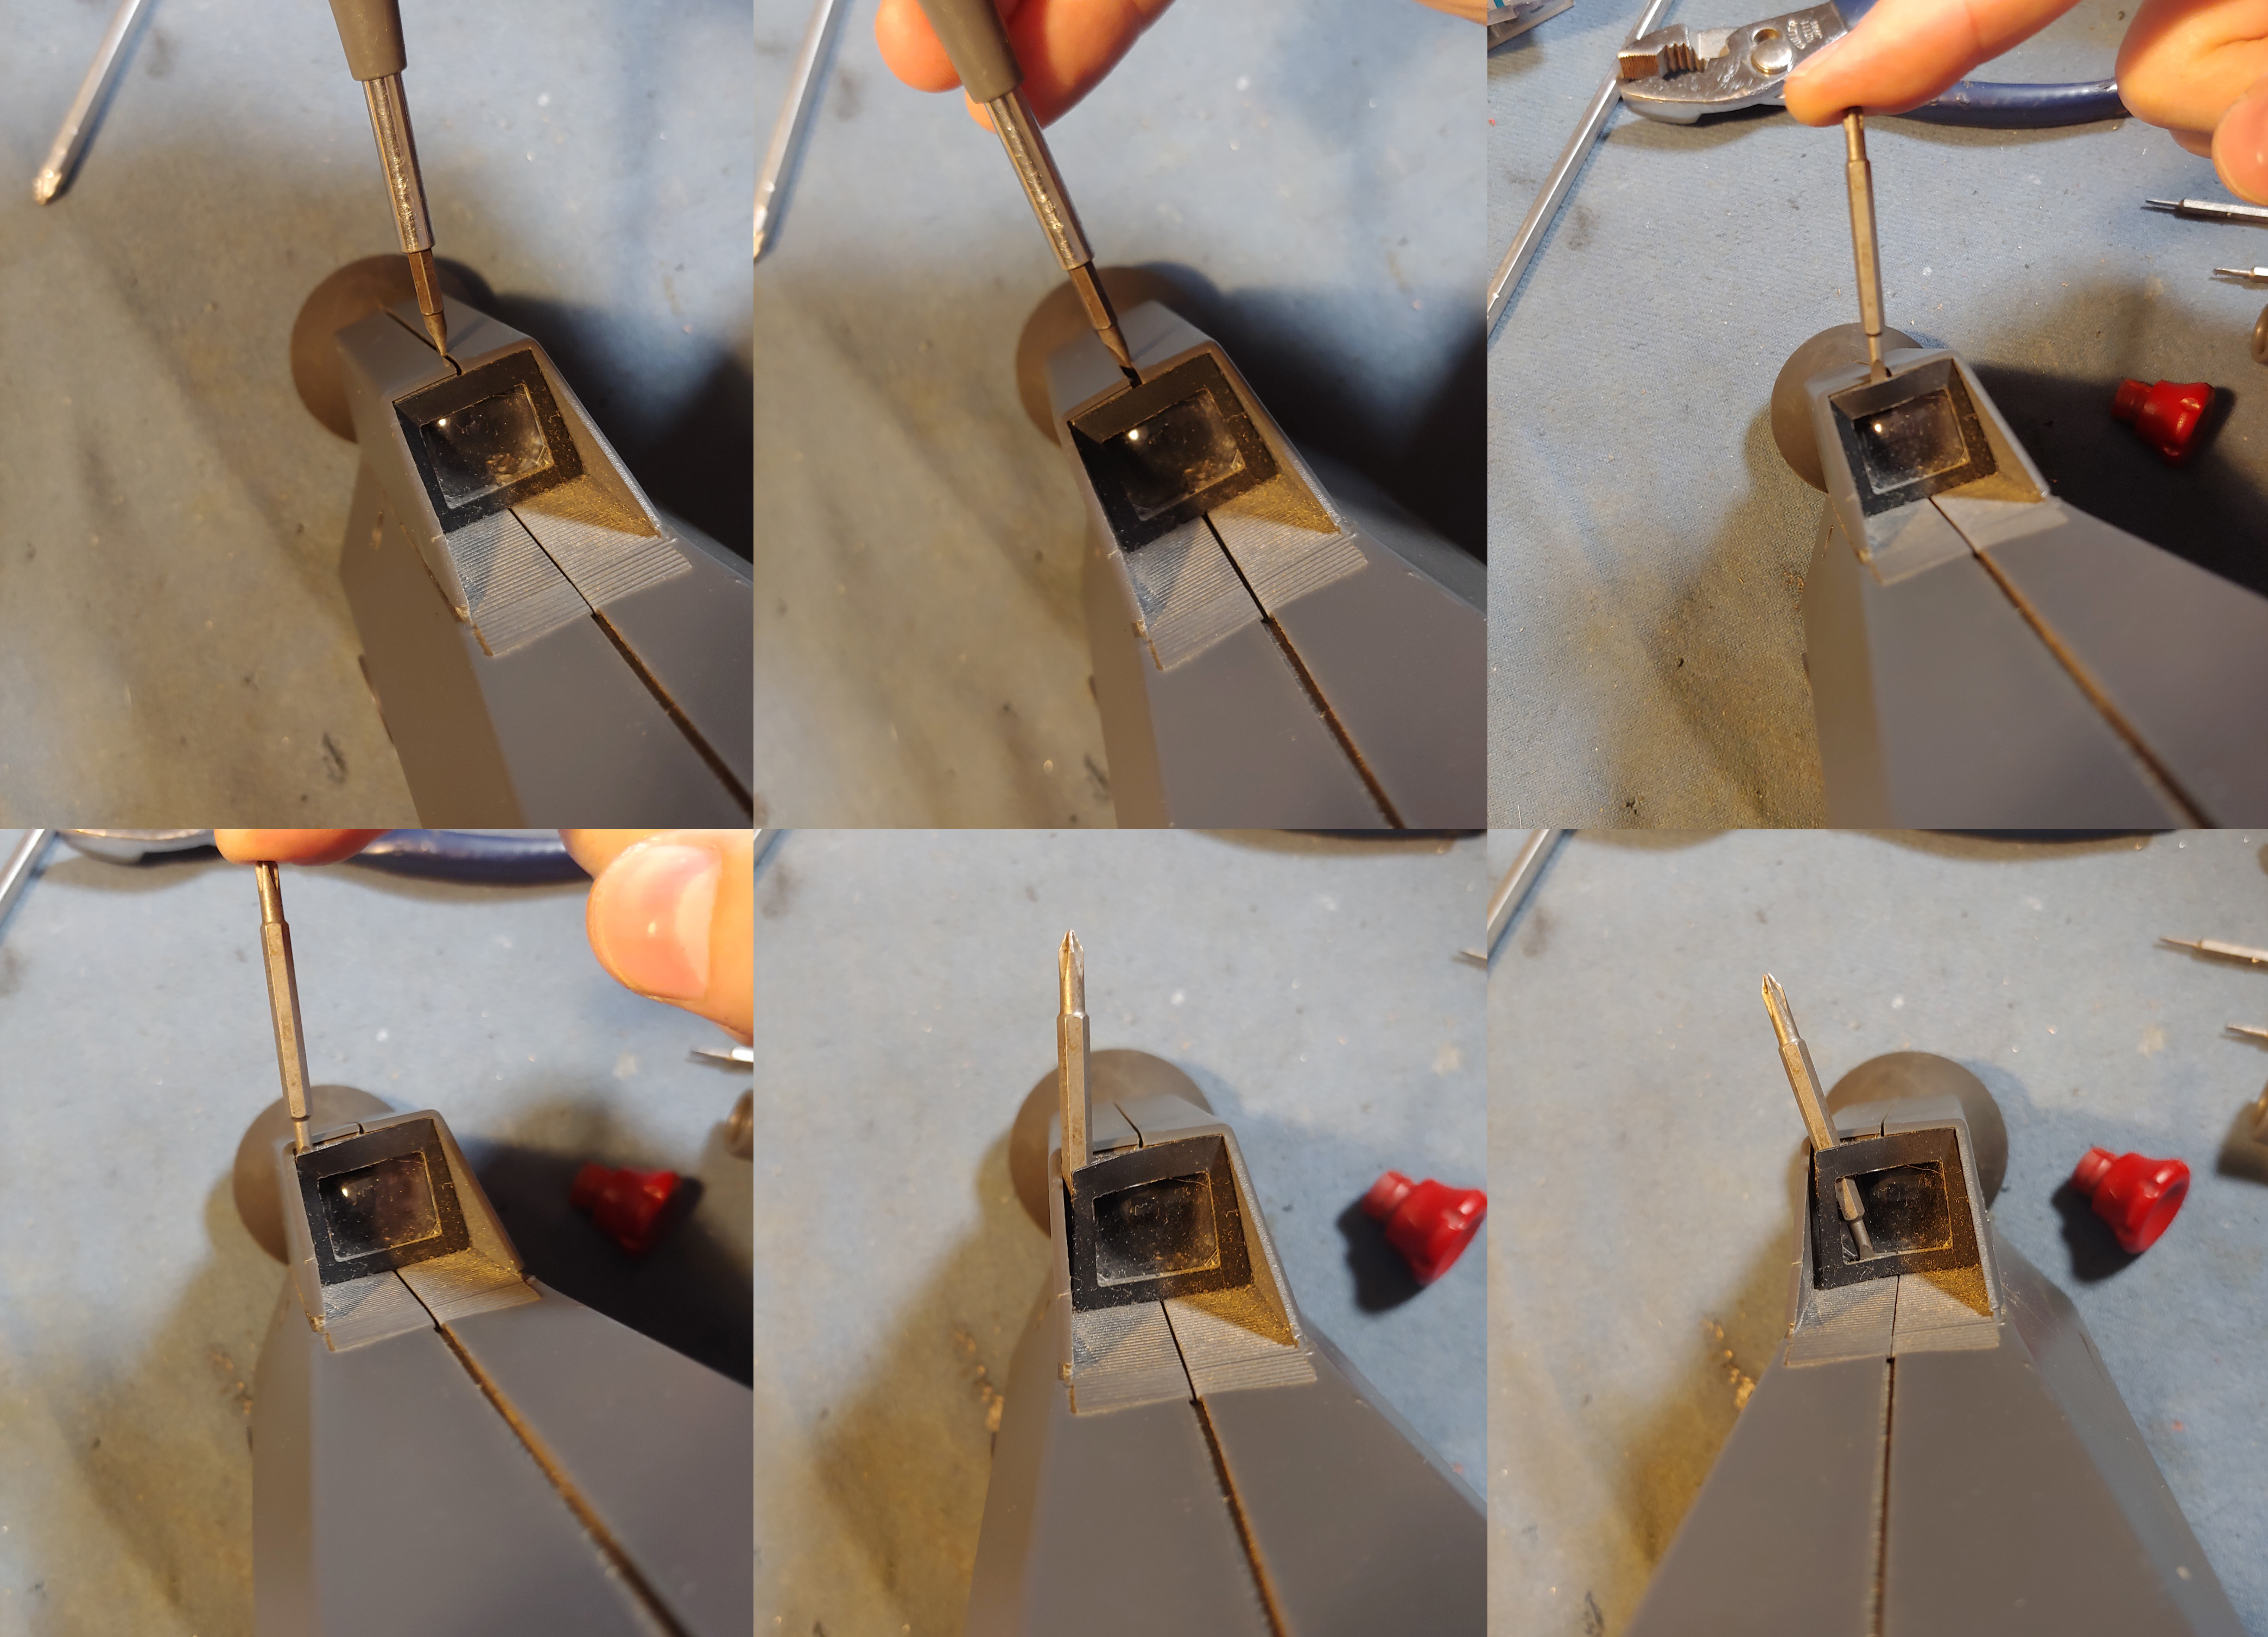
Continue to slowly pull apart the shell near the eyepiece until you can stick a flathead screwdriver in the gap. Use the screwdriver to slowly work your way to the middle of the sticker, then work it all the way around one side until the shell releases. Ideally, you’ll have the sticker stuck to one half of the shell and removed from the other half.
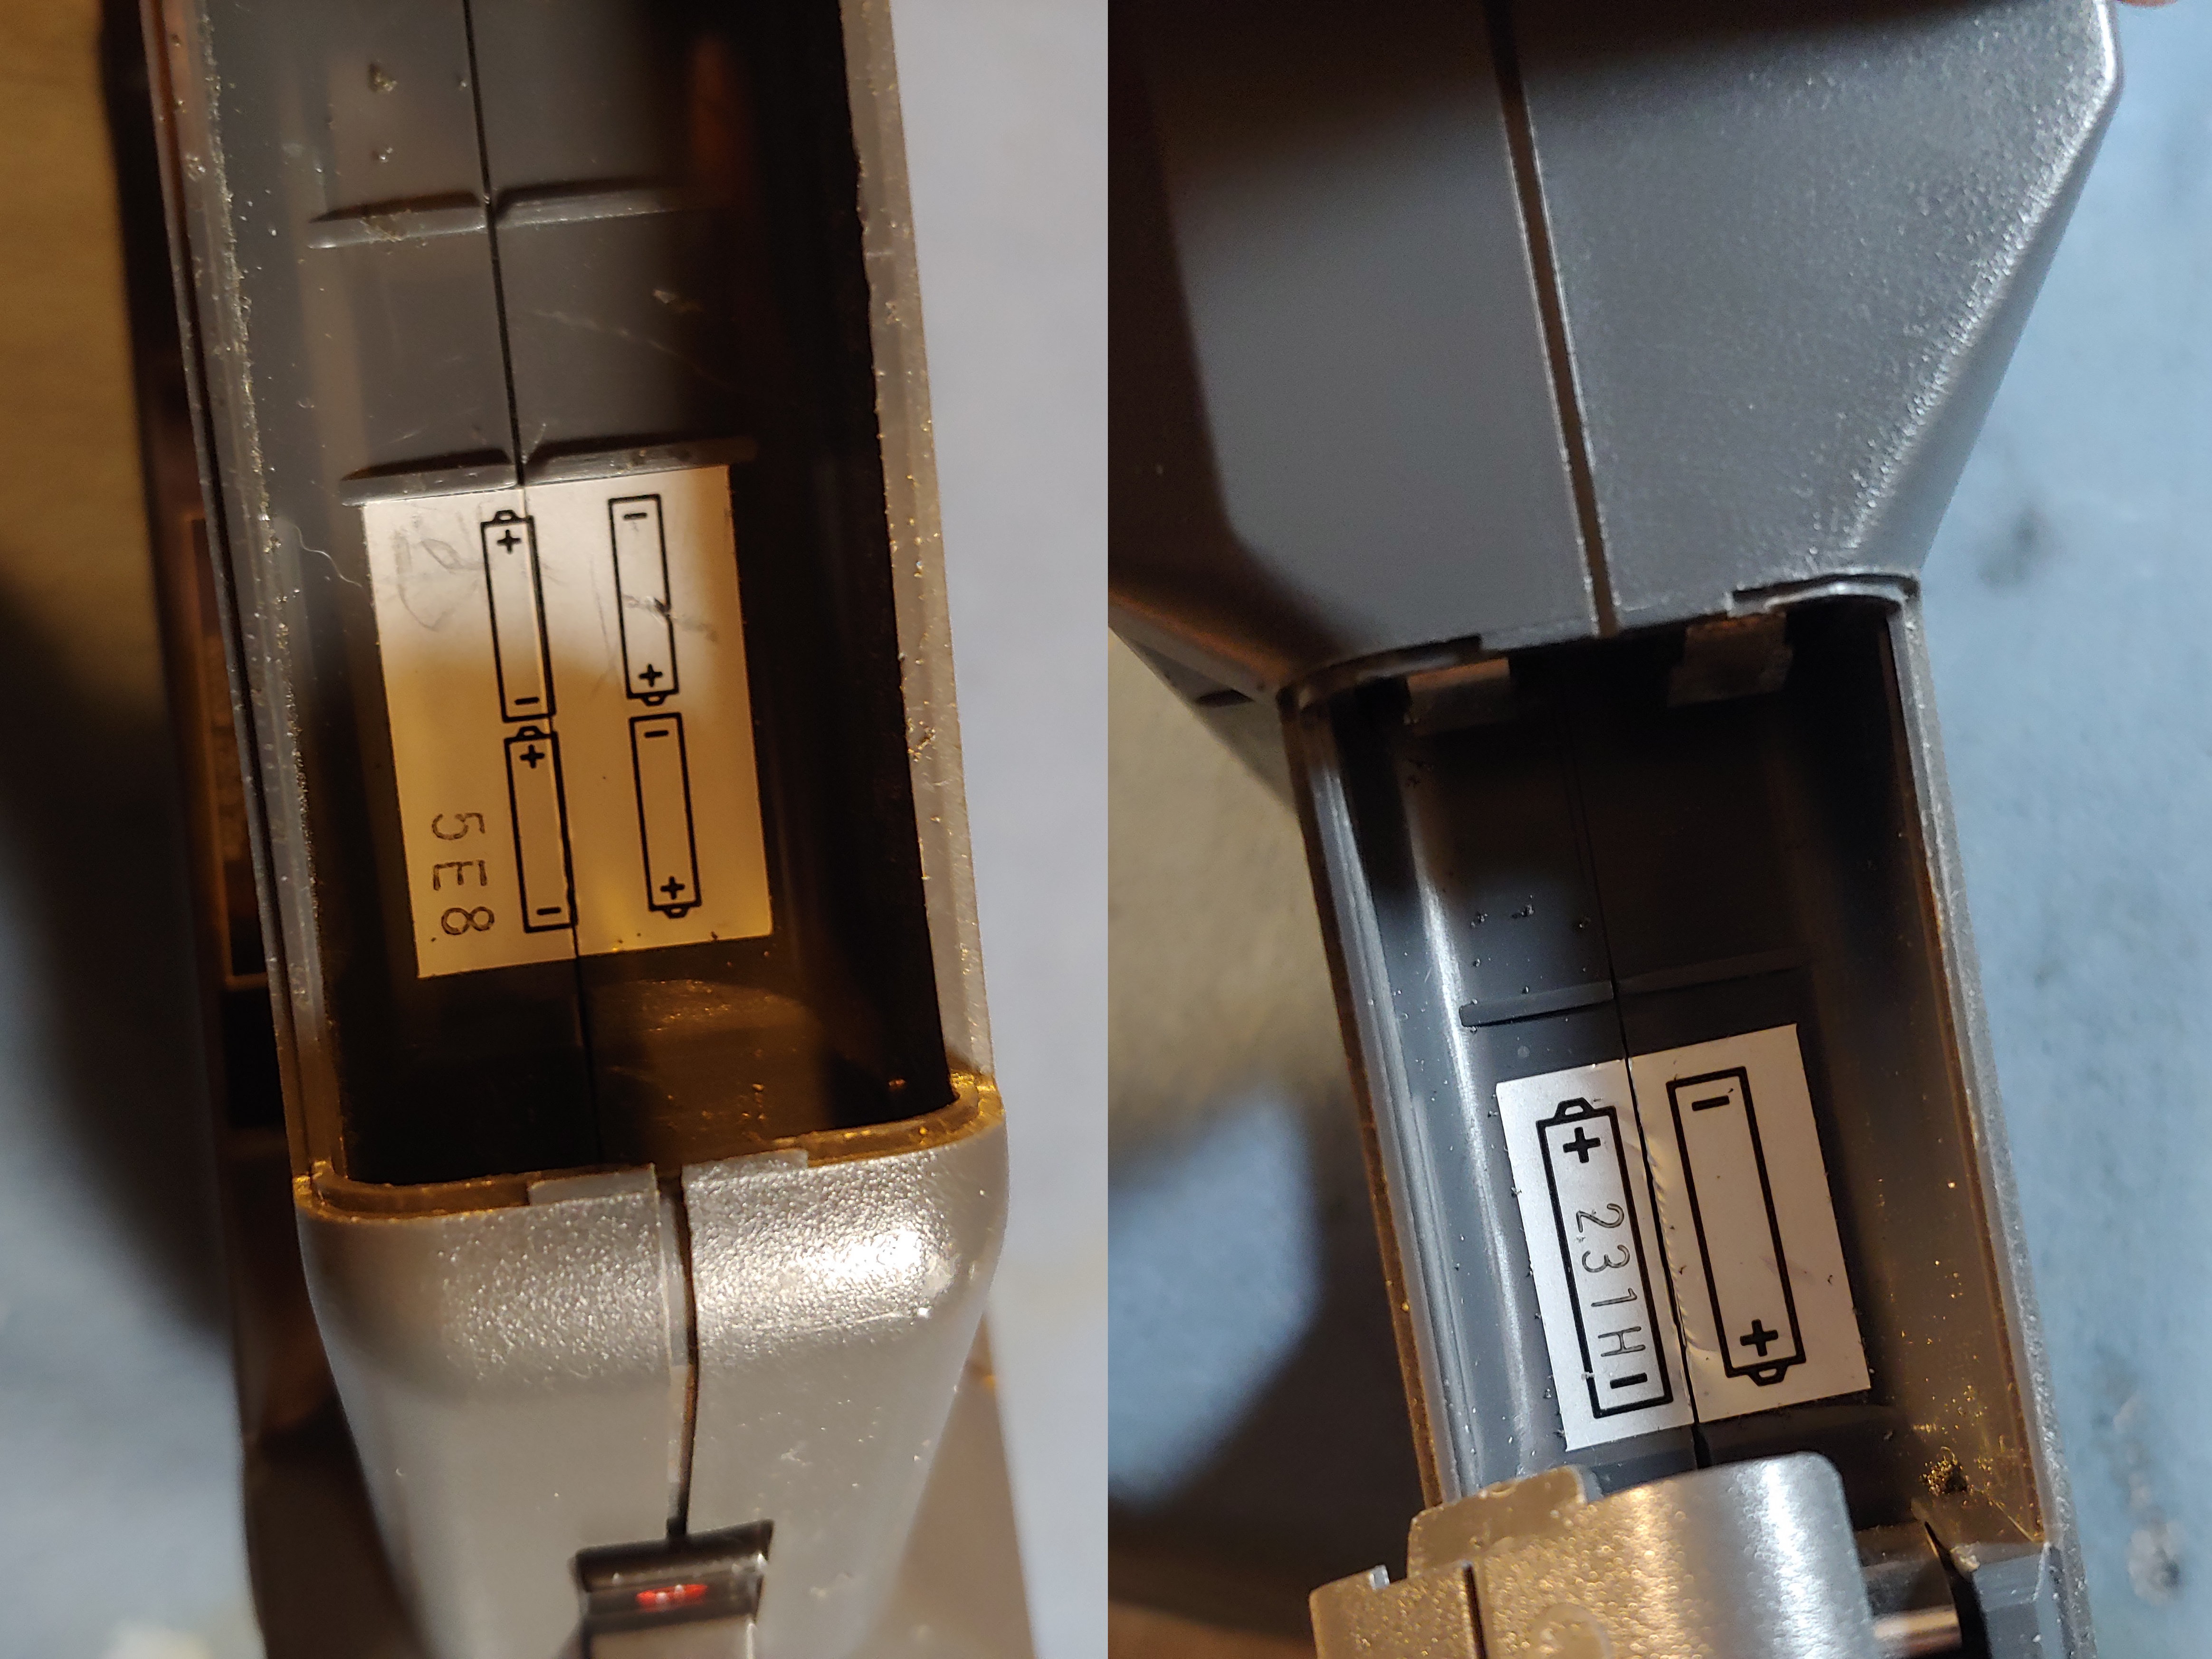
And we’ve got it! The sticker is stuck to one side and removed from the other. At this point it is a good idea to clean up the gummy adhesive from the shell and the exposed half of the sticker.
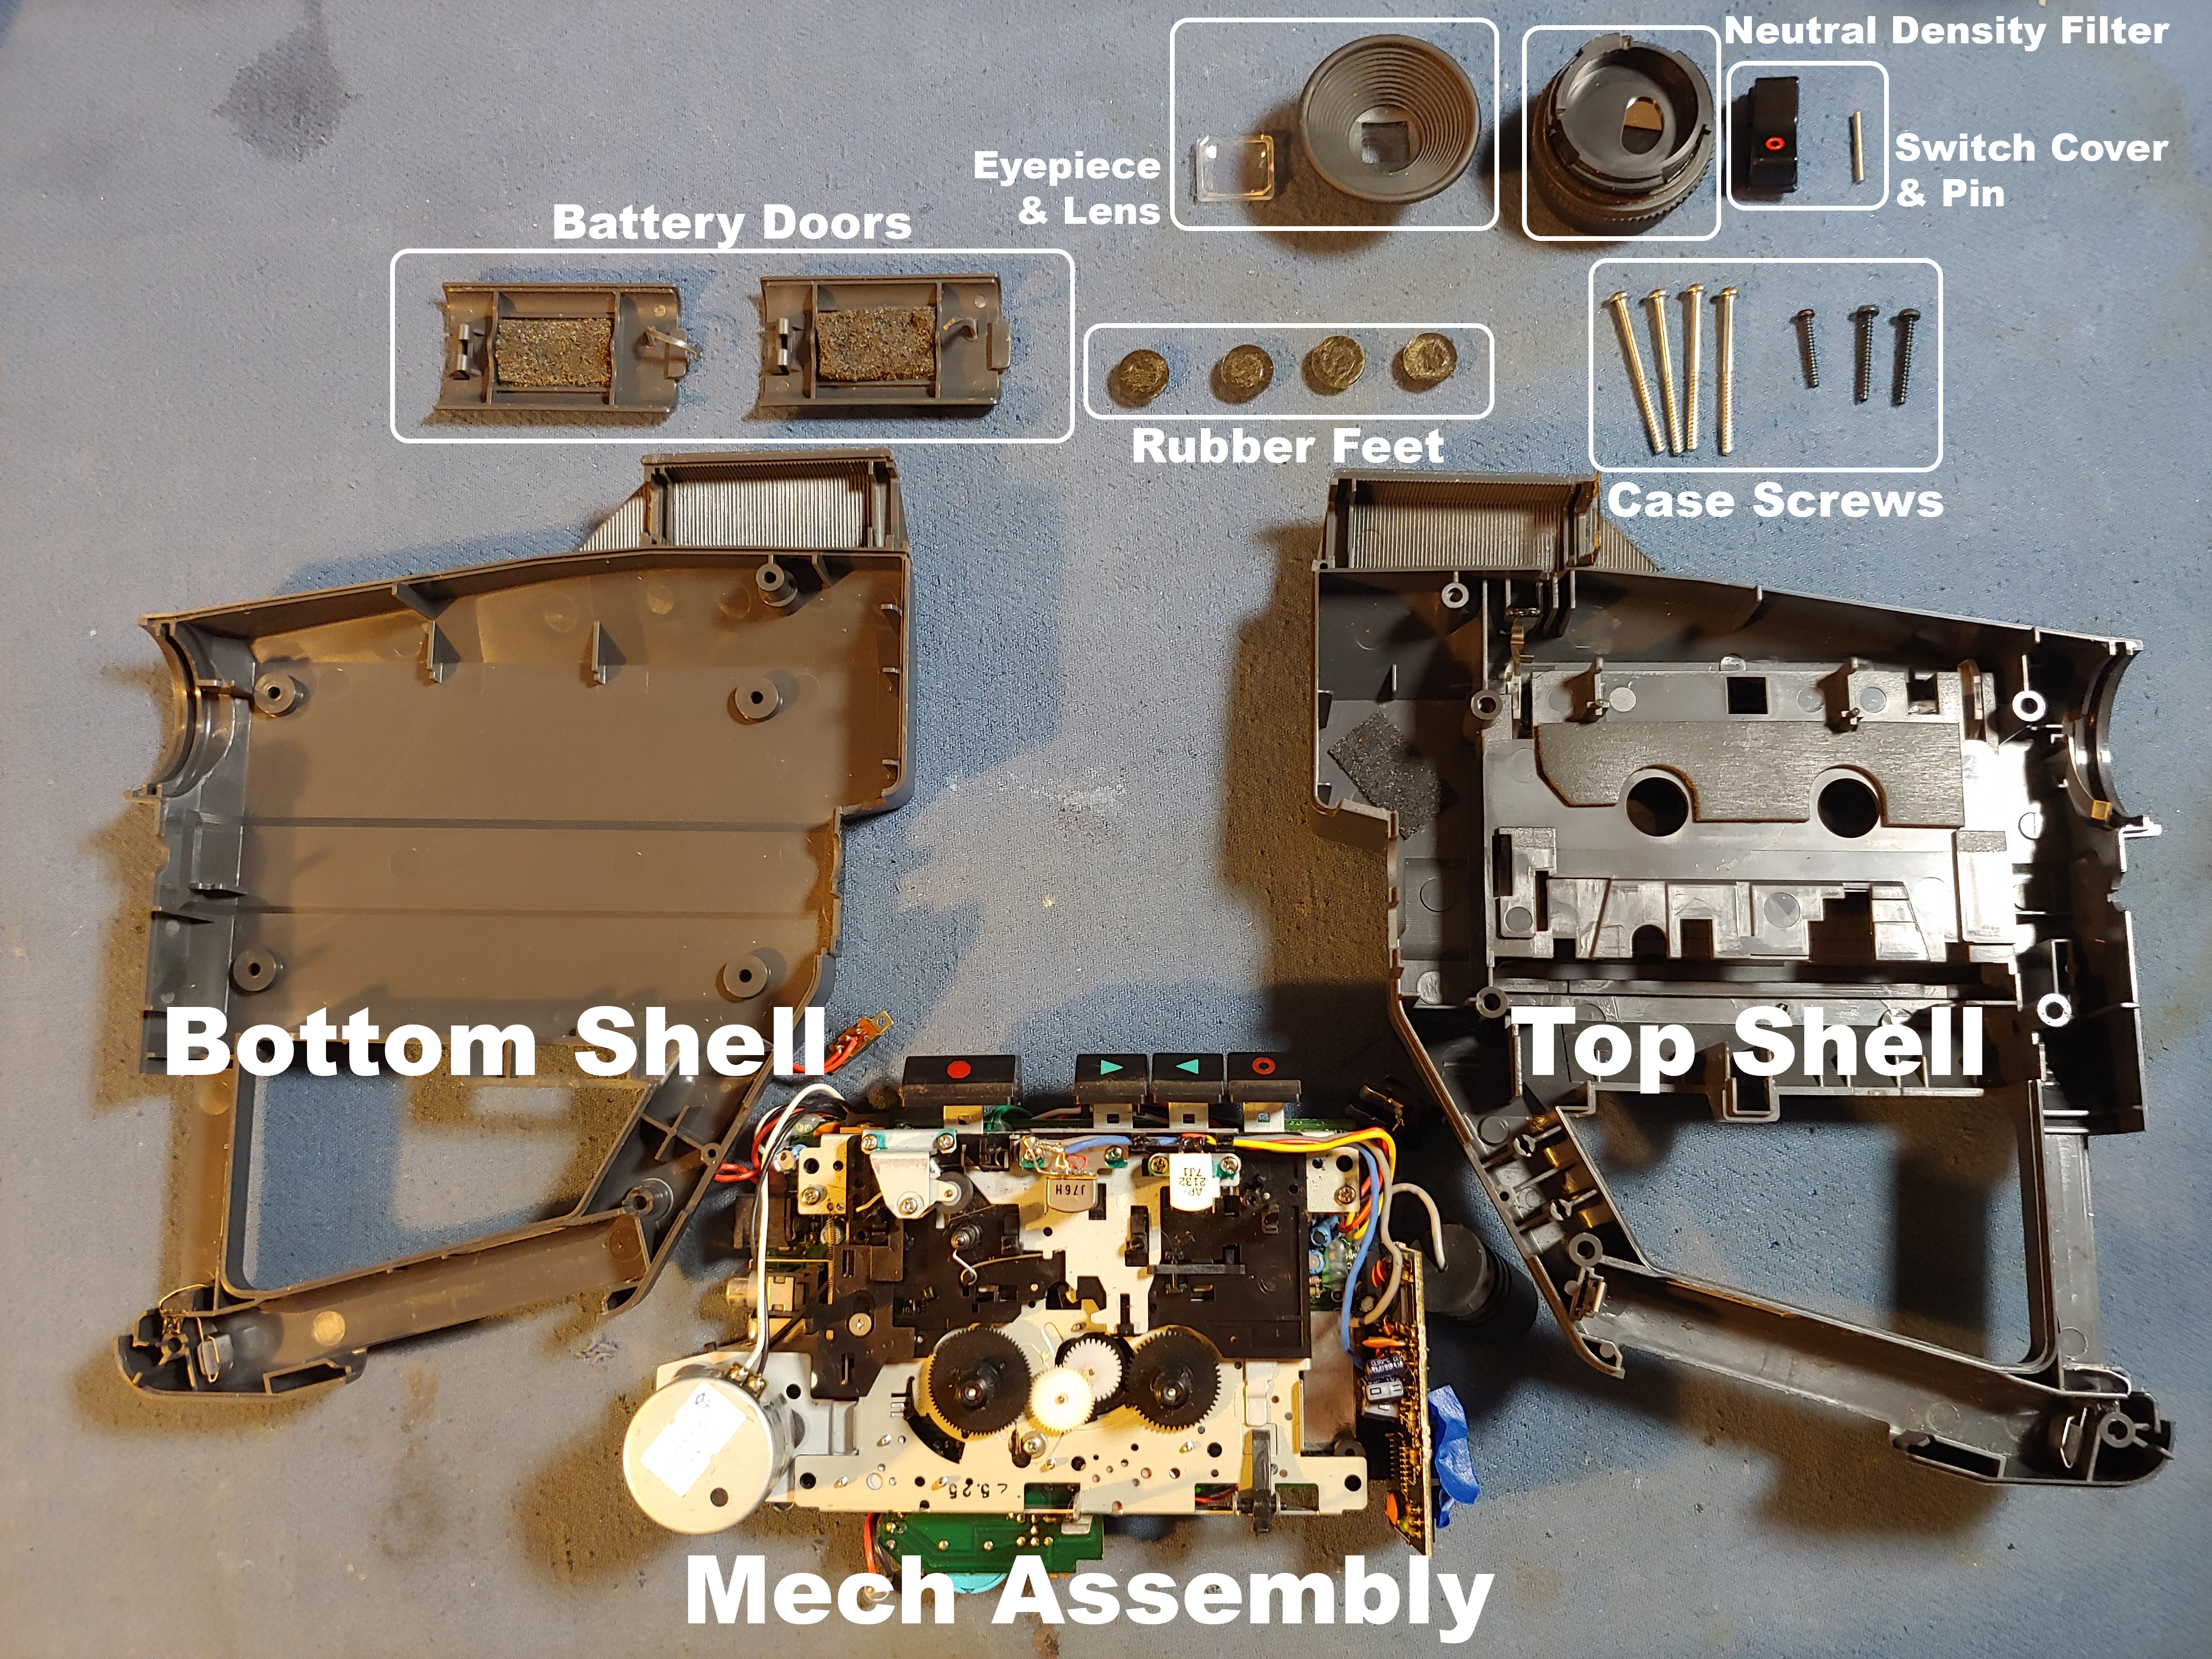
Inventory of parts you should have at this point.
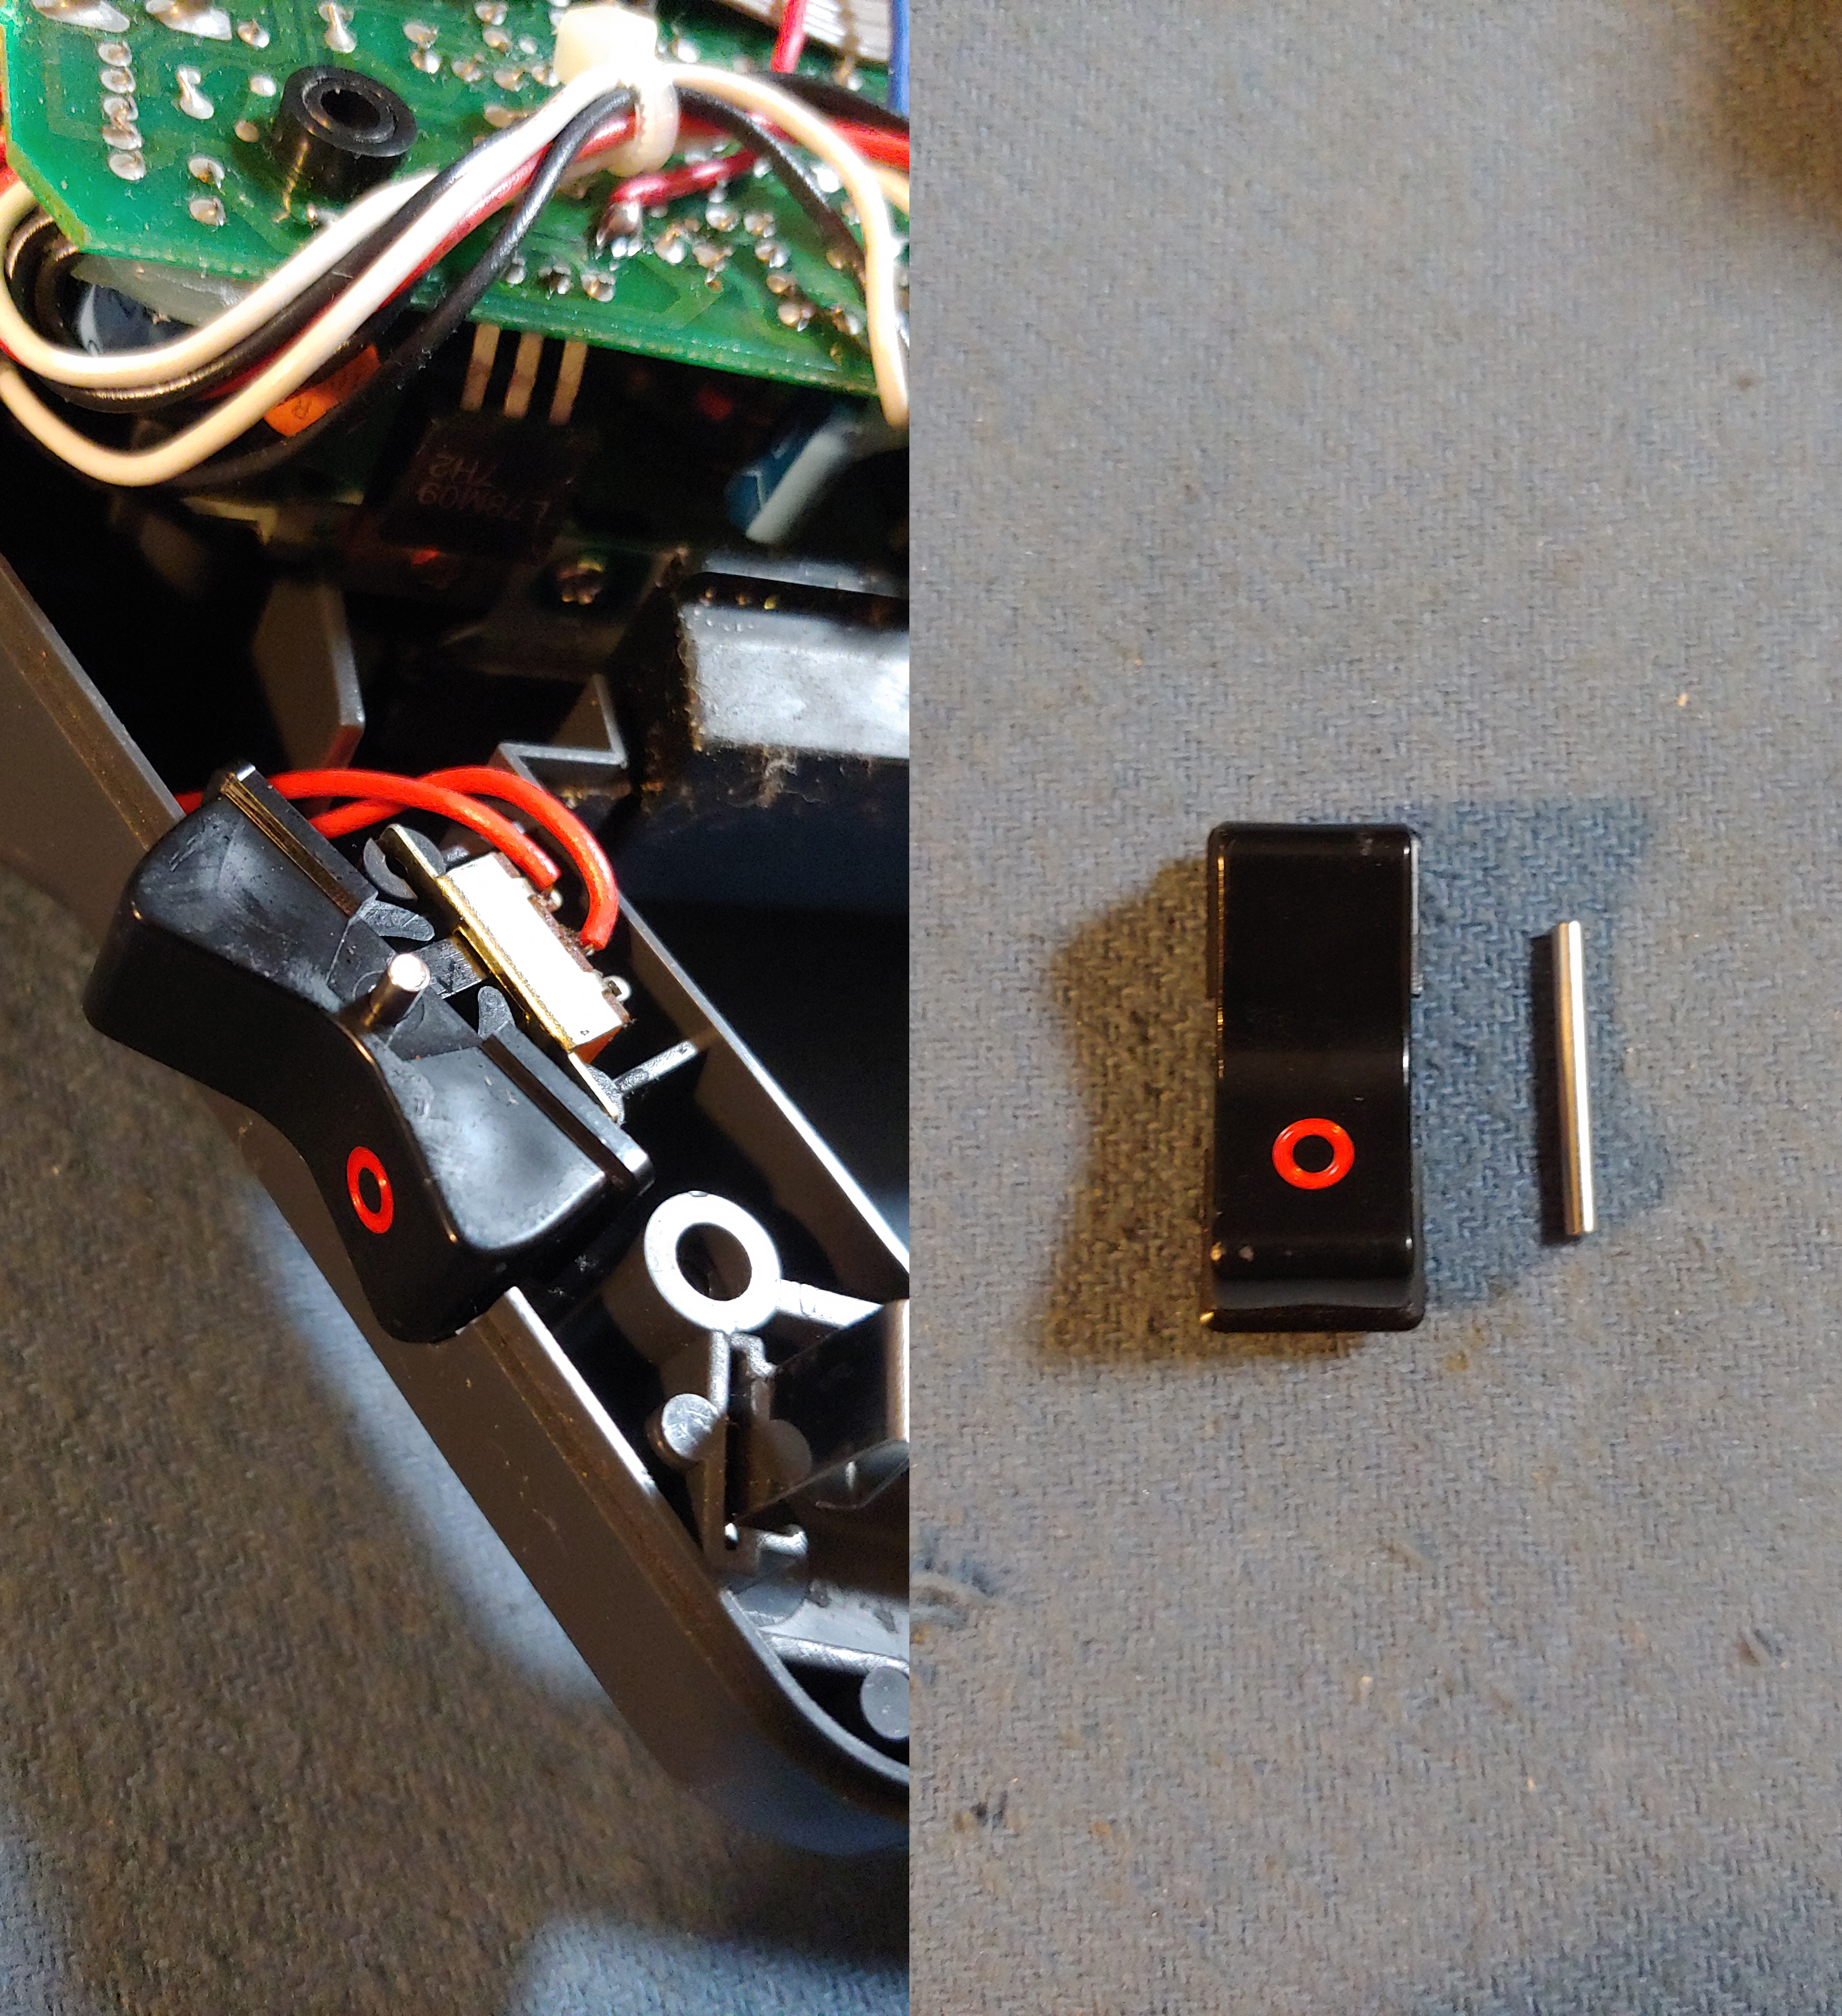
Remove the switch cover and pin and note the orientation for reassembly. The record indicator goes towards the bottom.
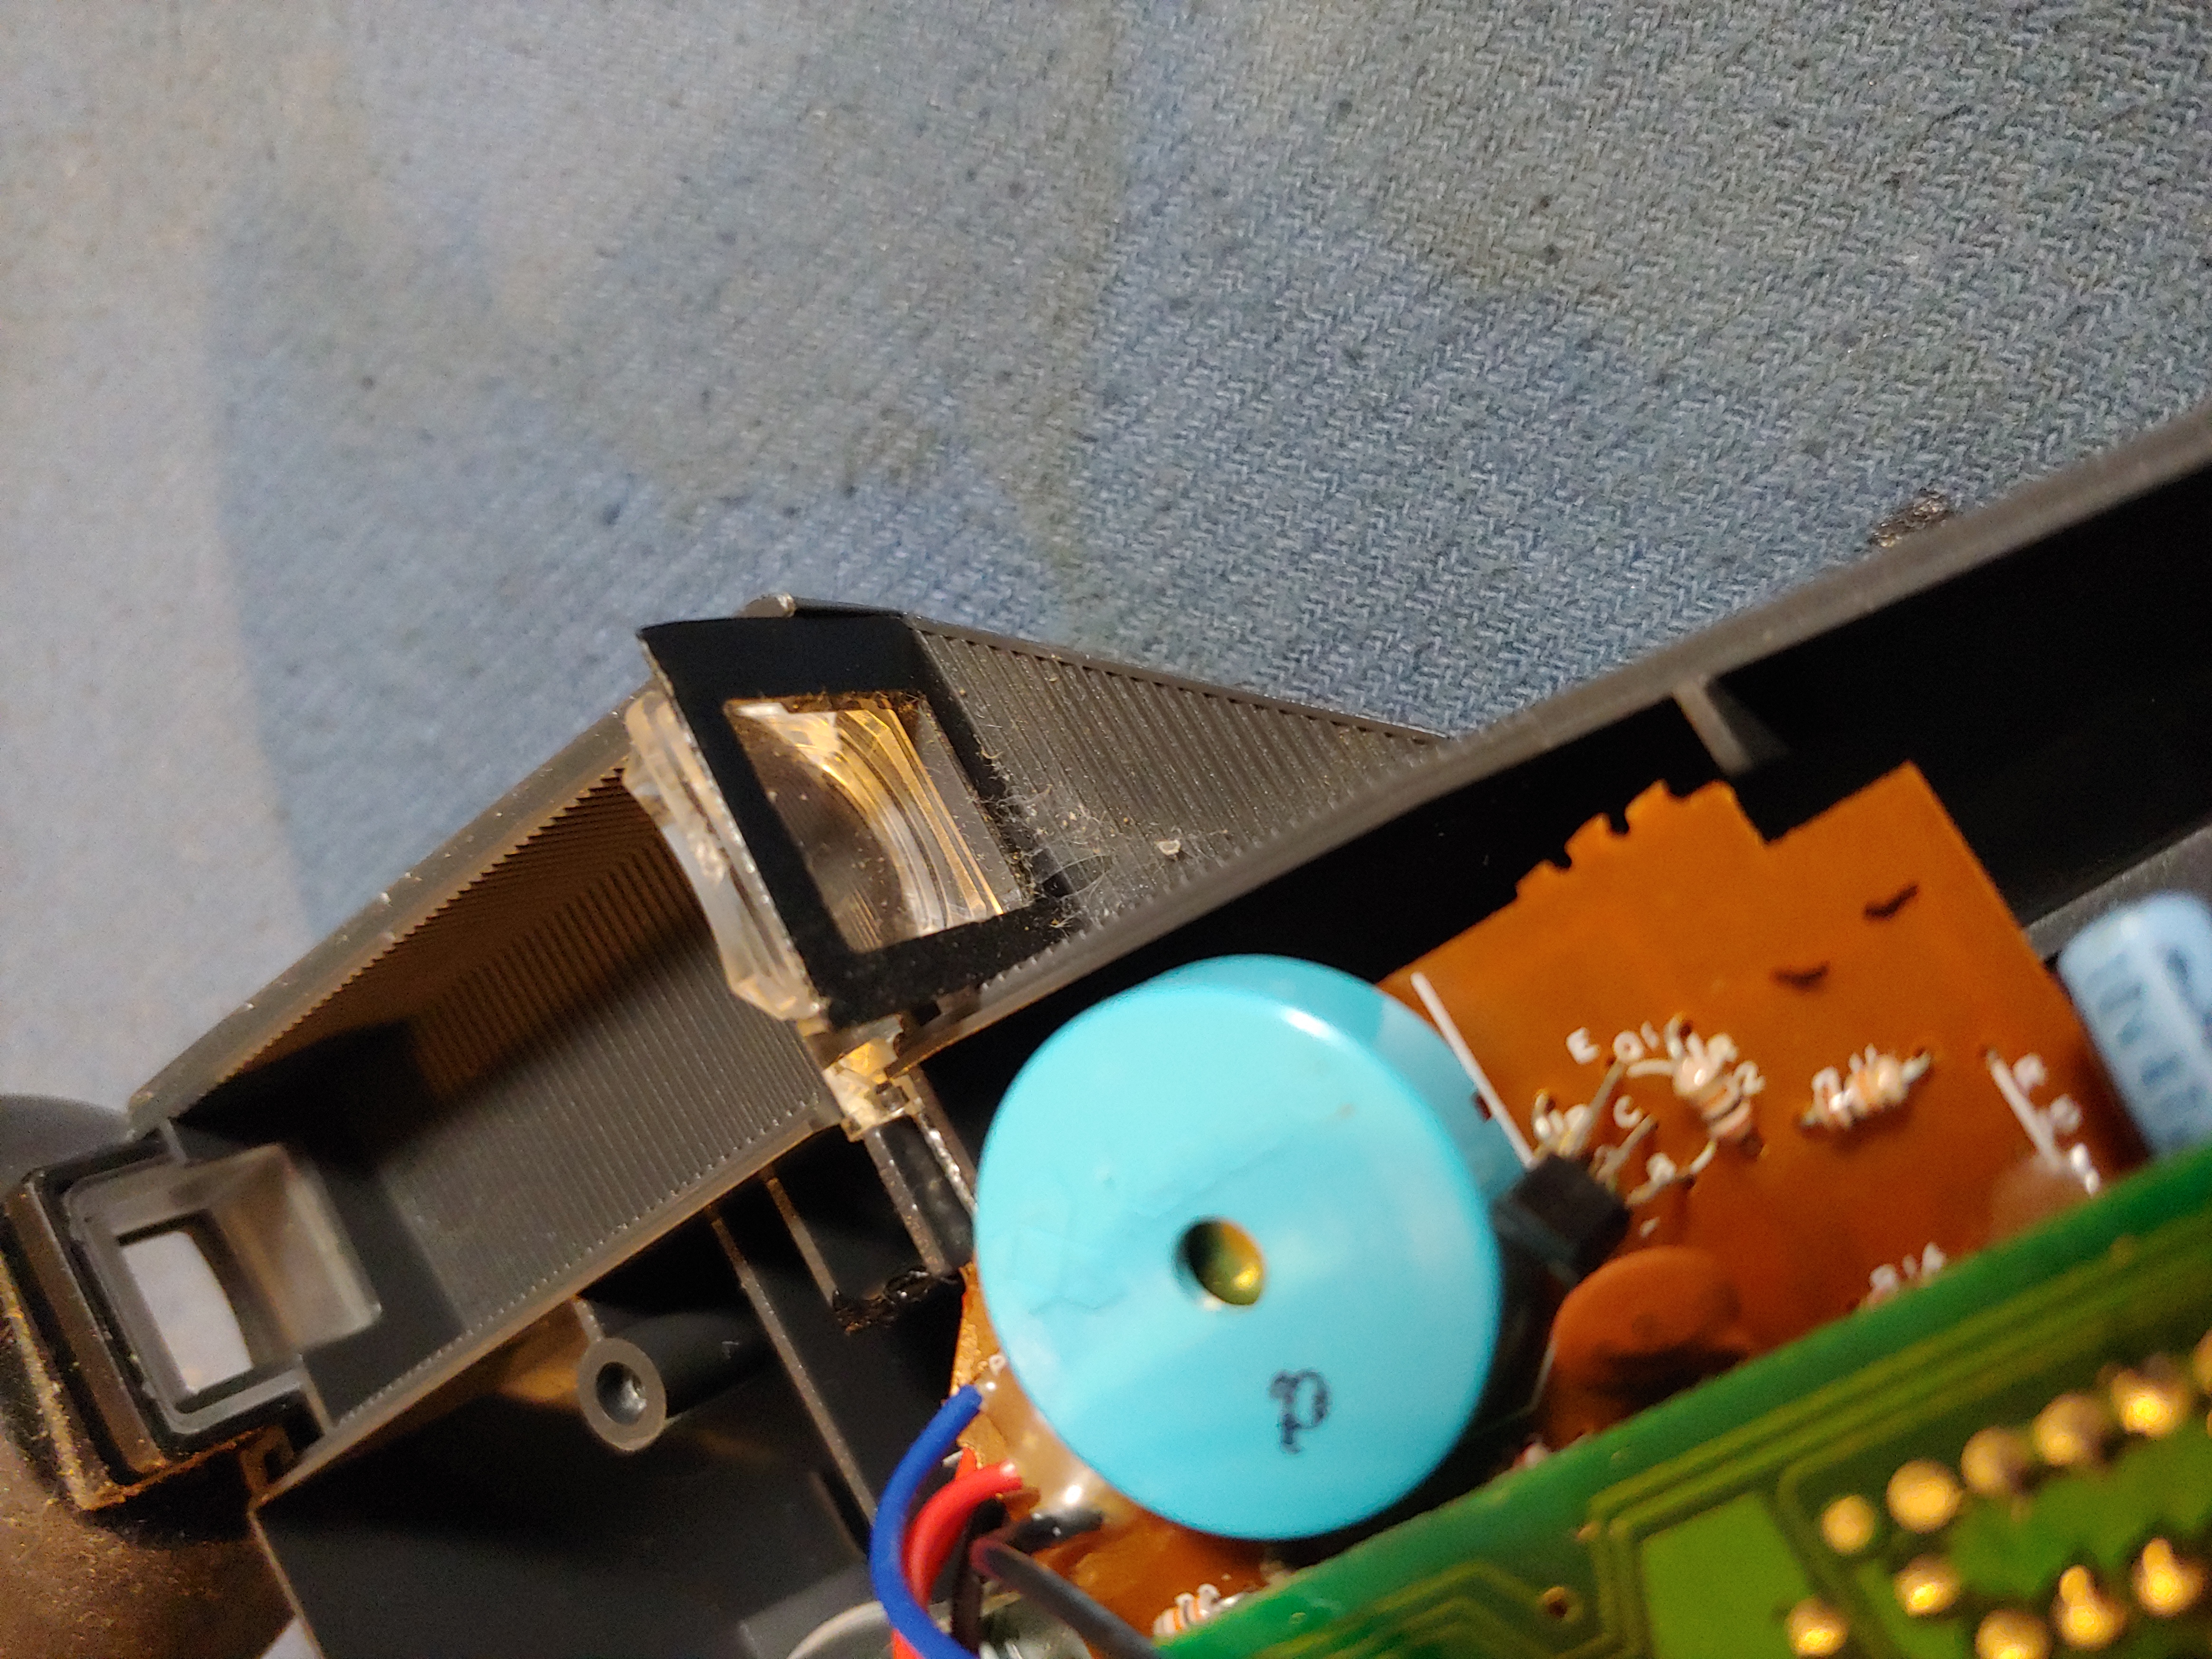
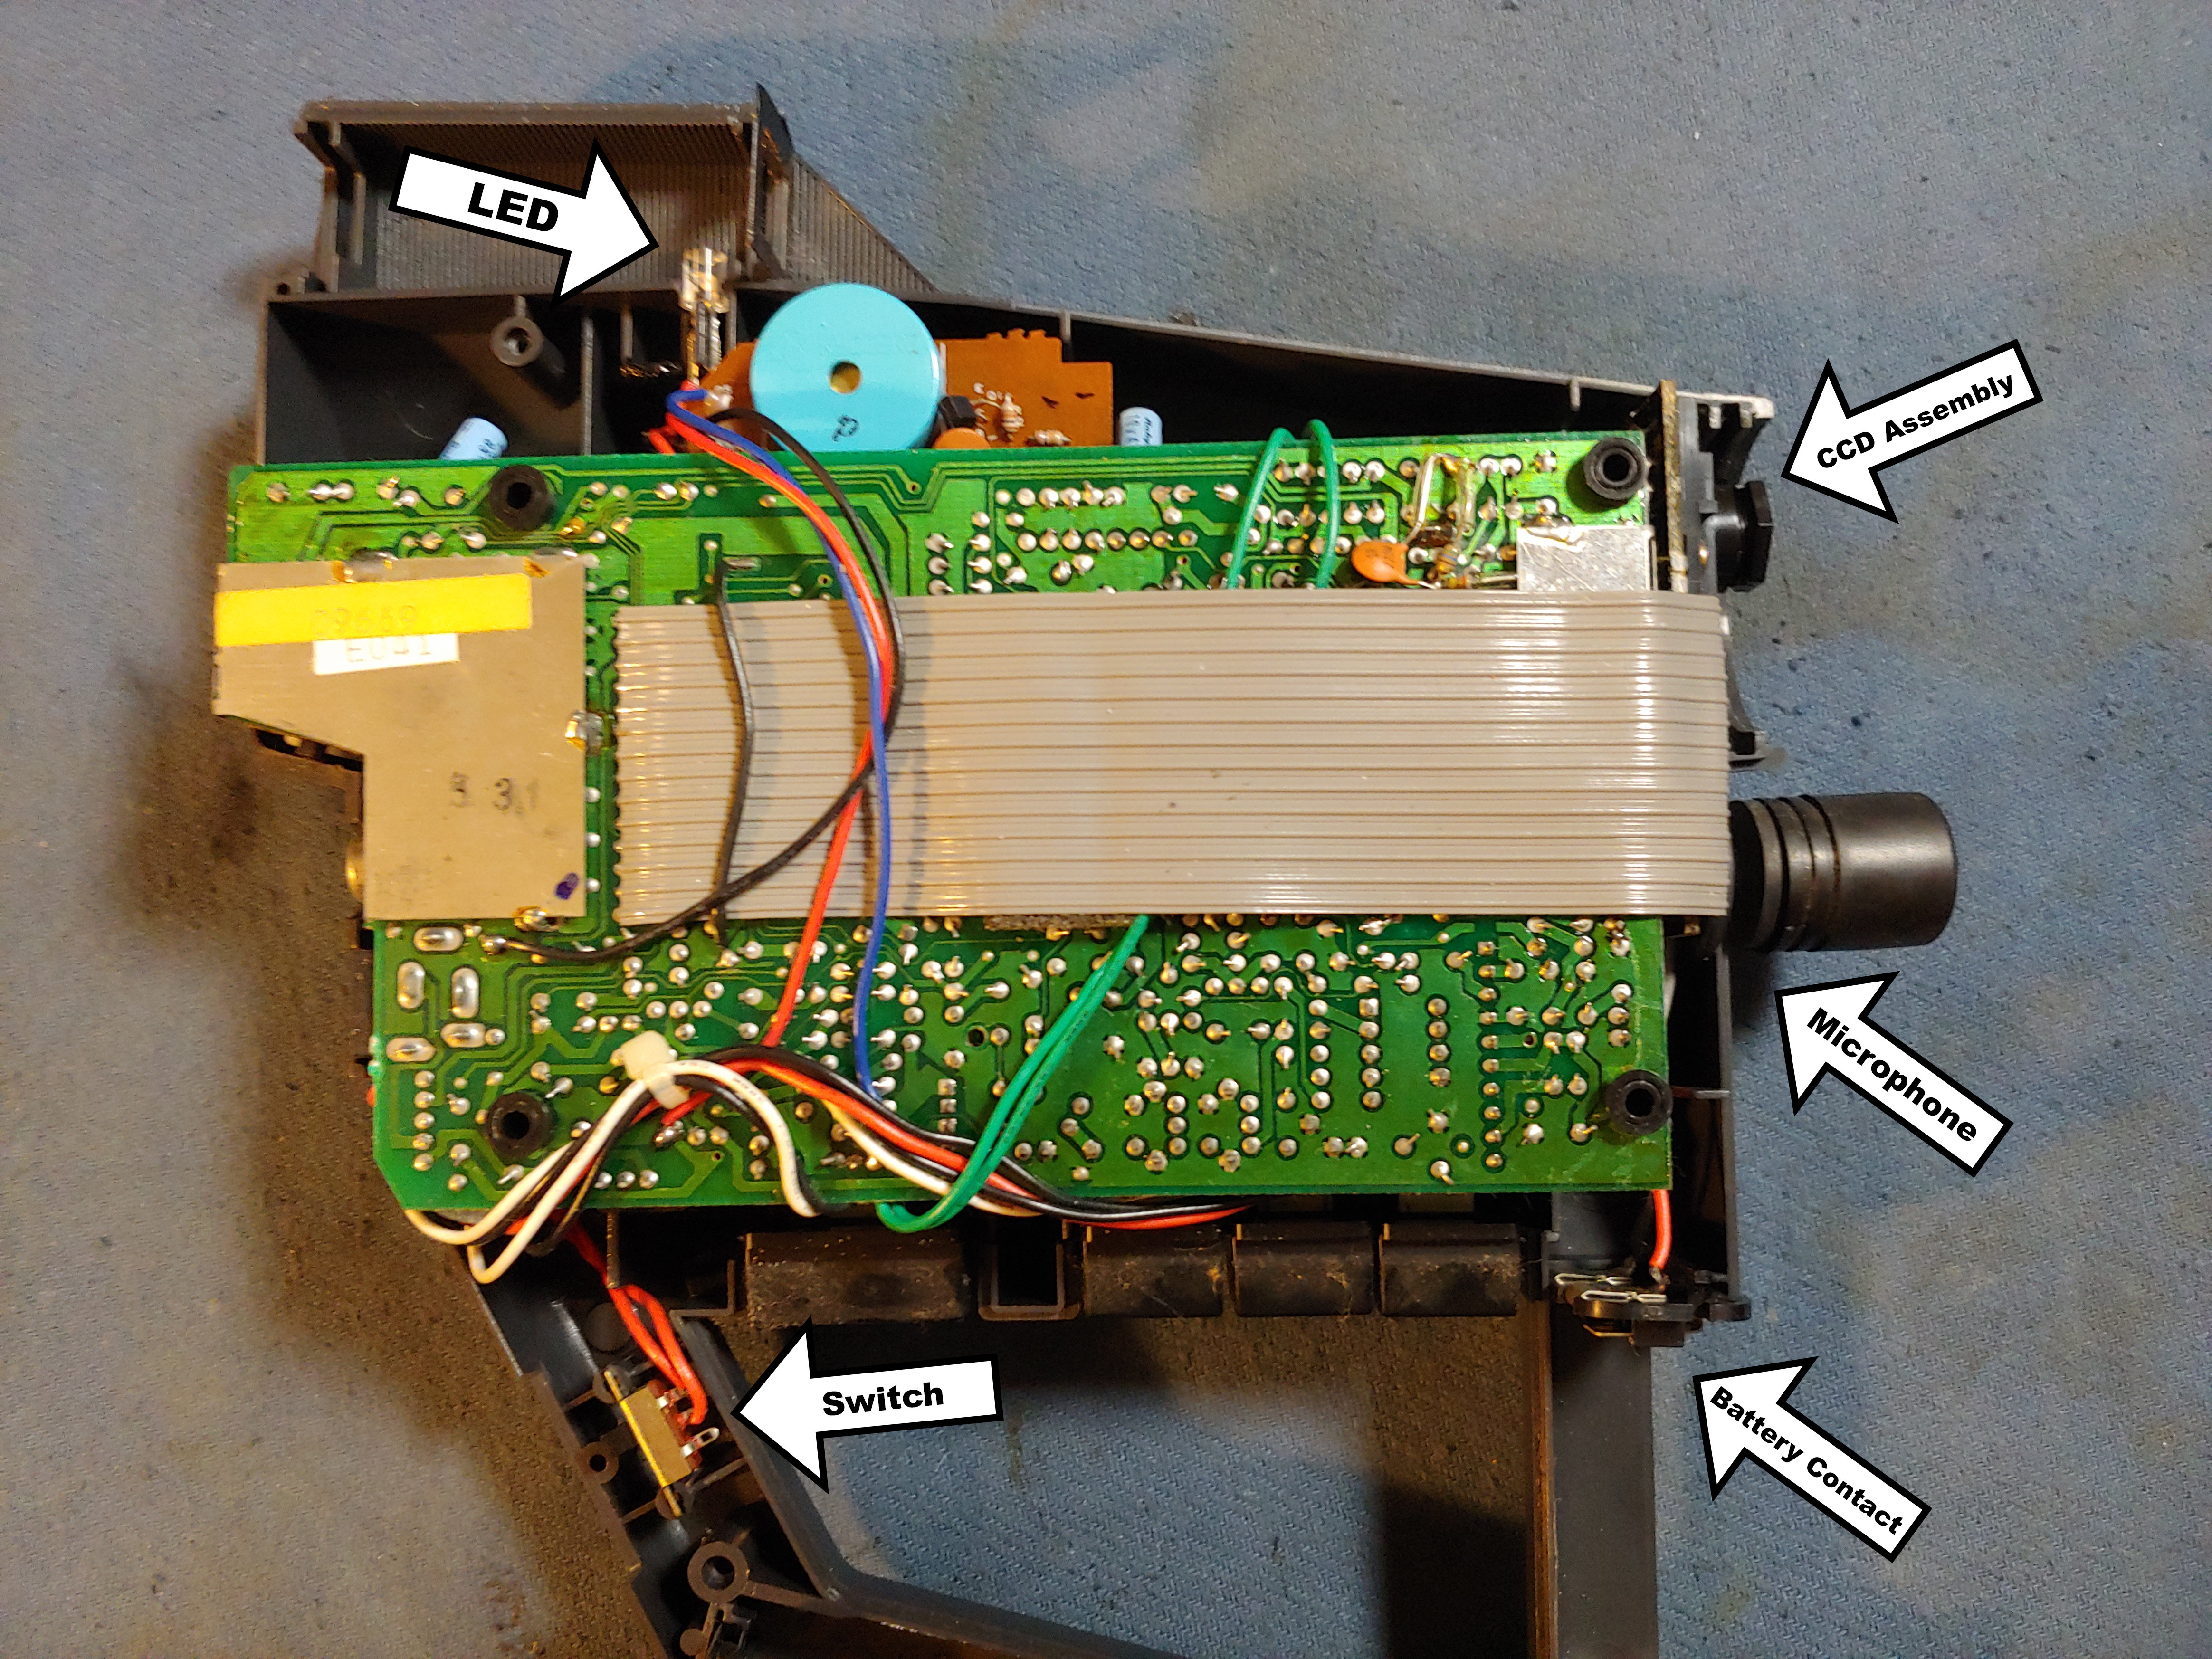
Remove the Eyepiece and Lens. Take note of the orientation of both for reassembly. The Eyepiece has a slant to it and the lens is curved.
If you have the auto stop version of the PXL you will find that the LED is held in with some rubbery black glue. It is easy to cut through this using an exacto blade. For reassembly, the LED sits in the channel fine without gluing it back in. If you have a beeper board you will probably find that your LED is not glued in.
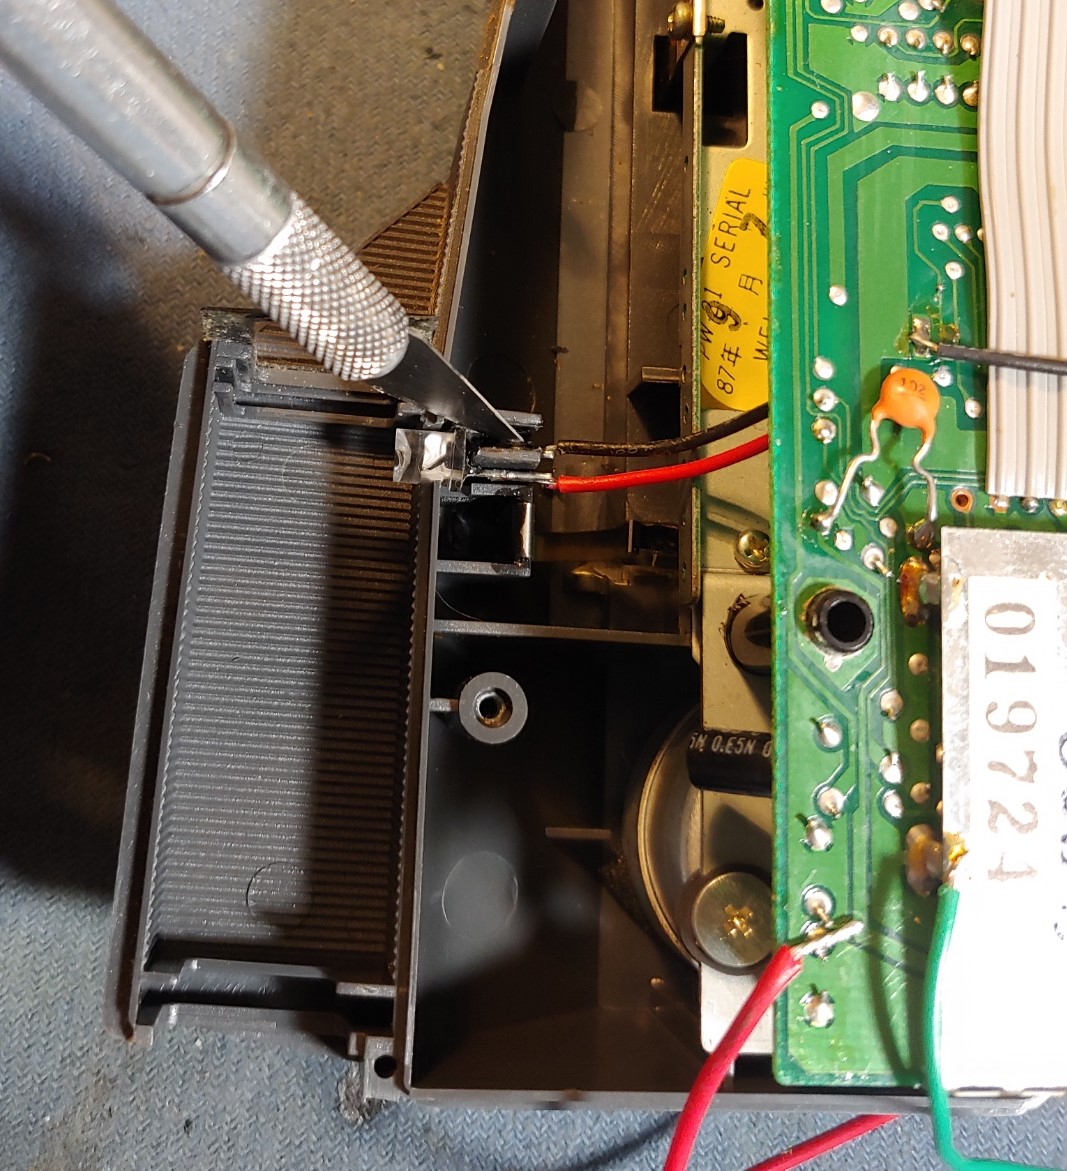
There are many components that sit in channels that need to be removed before we can access the tape mechanism. Remove these things carefully and note their orientation for reassembly. The switch should have the open solder lug towards the handle. The battery contact should have the red wire facing up.
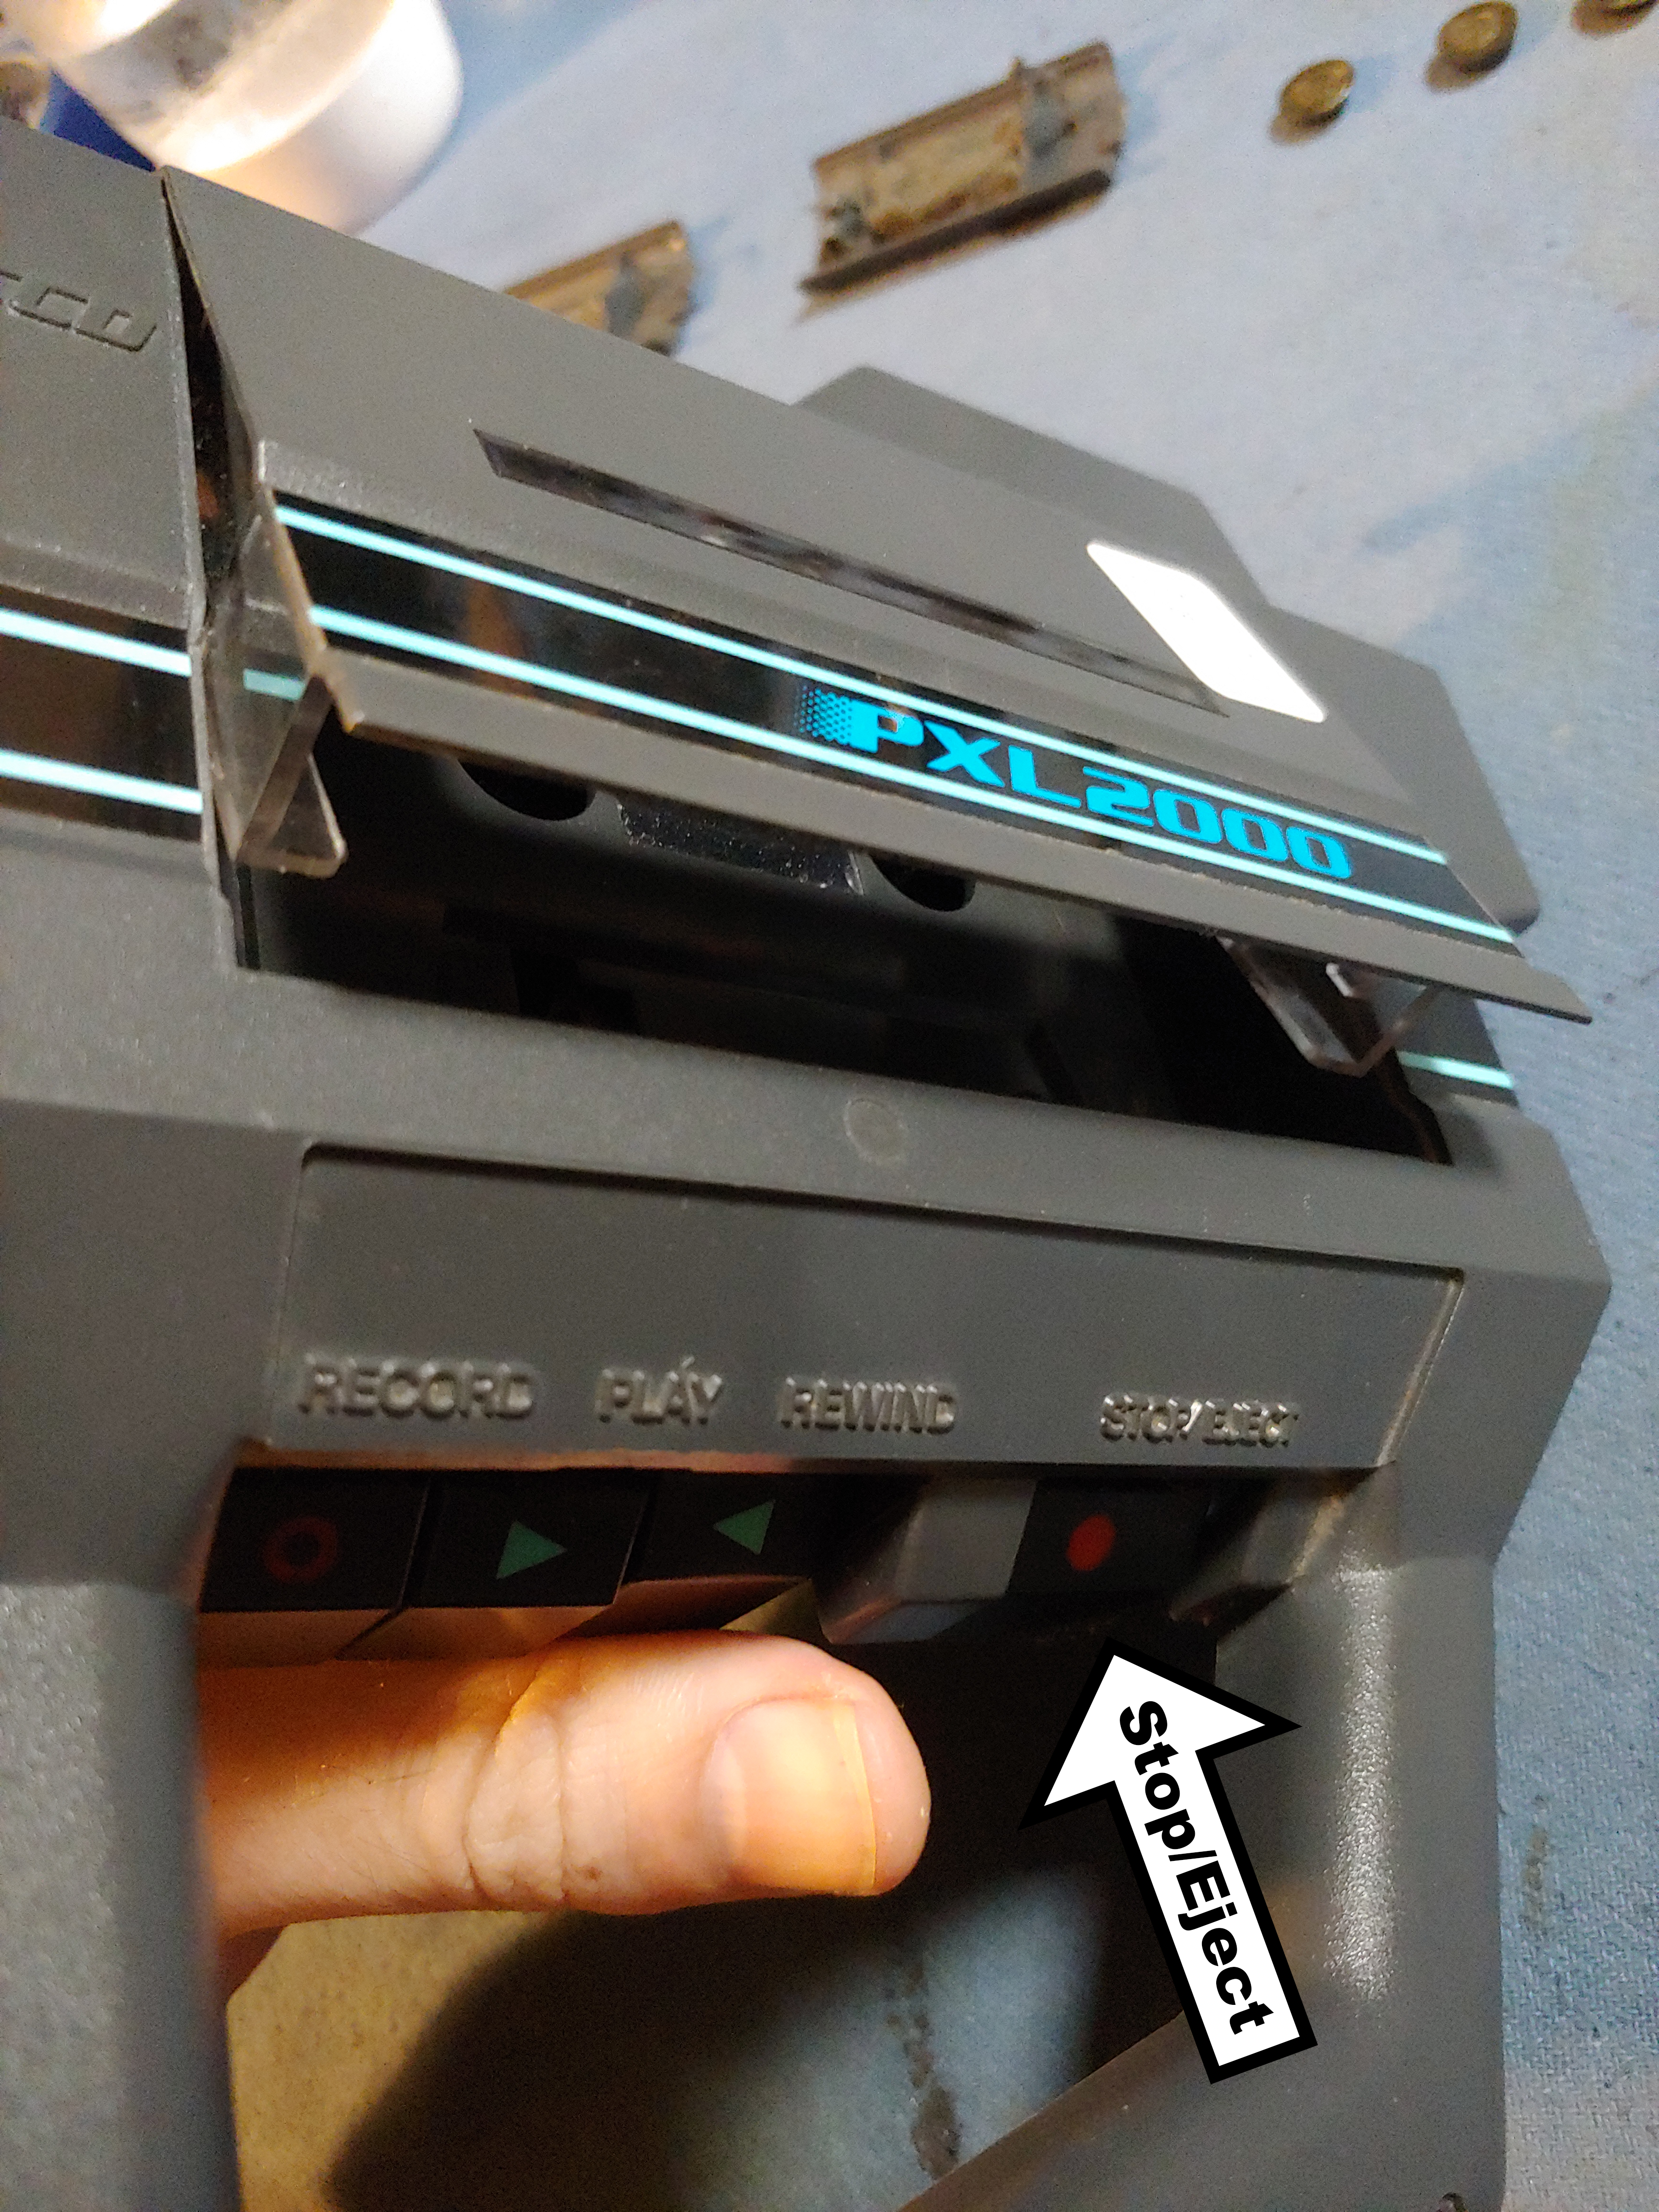
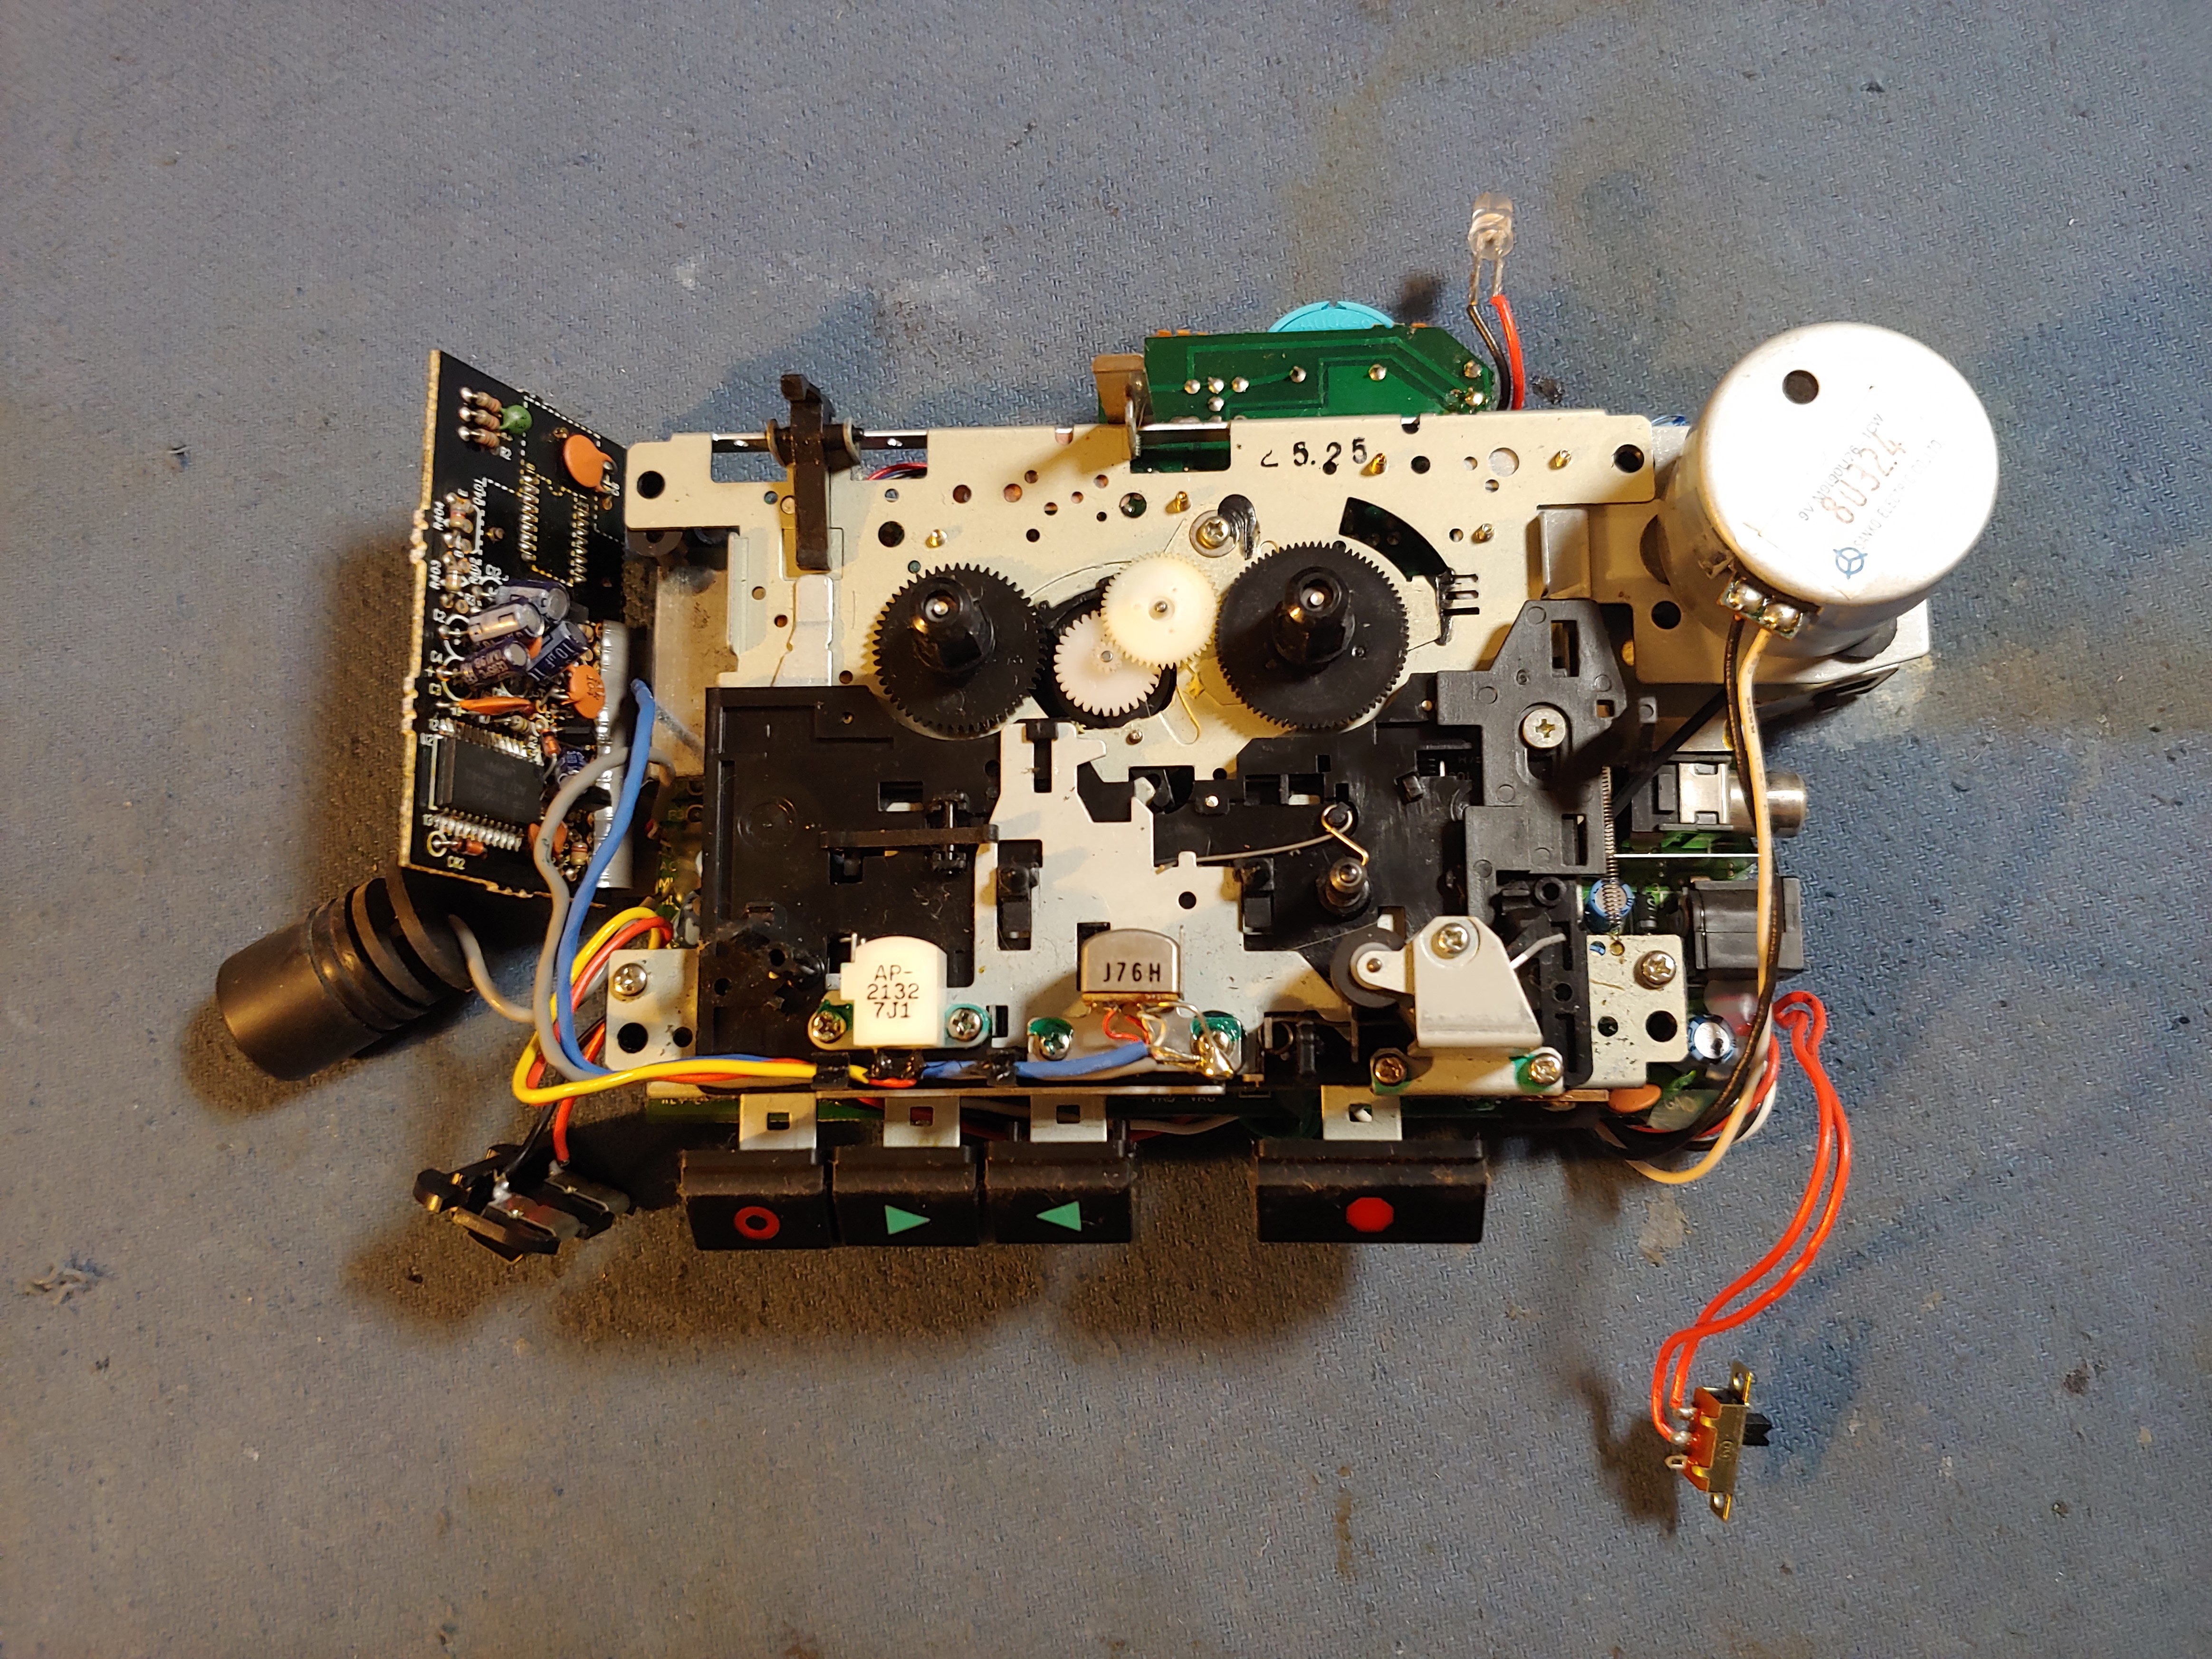
Press the Stop/Eject button and the mechanism should now release from the shell.
And we’re free!
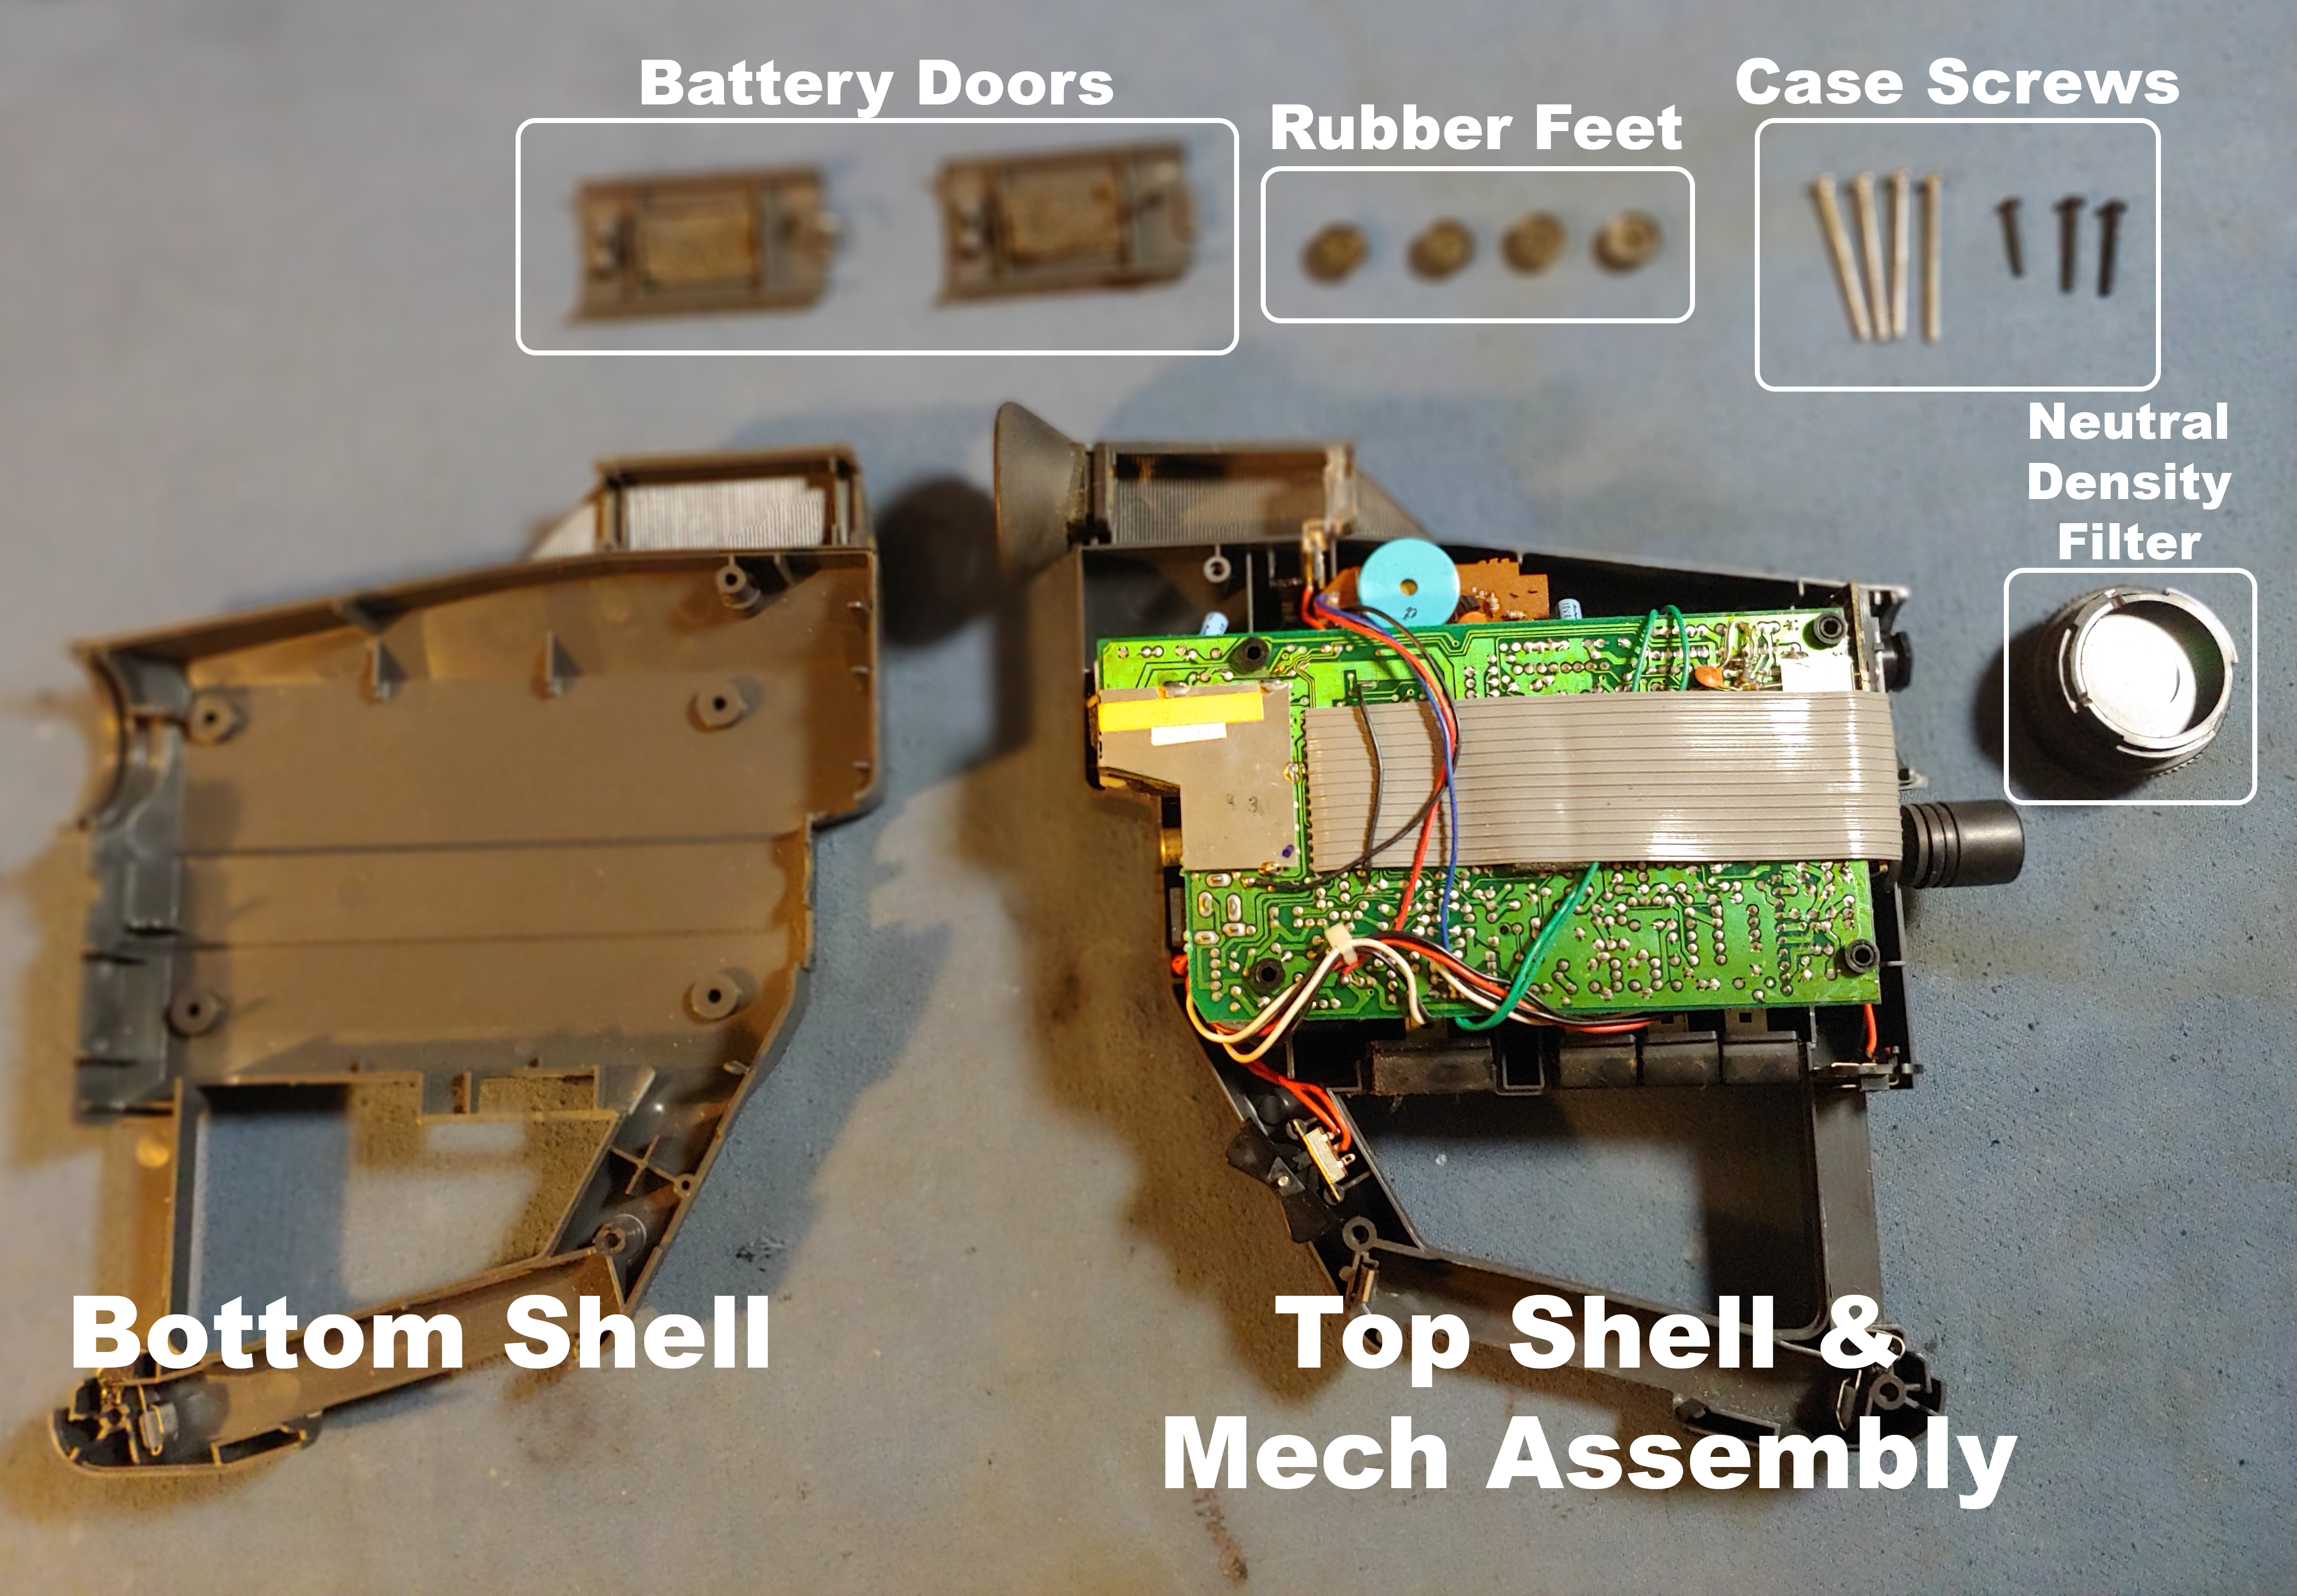
Congratulations! You have now disassembled your PXL-2000! Here is a final inventory of parts you should have. I wish I could tell you that reassembly is as simple as reversing these directions and eh…not quite. It’s very fiddly getting back together, but we’ll cover that in detail in another tutorial.